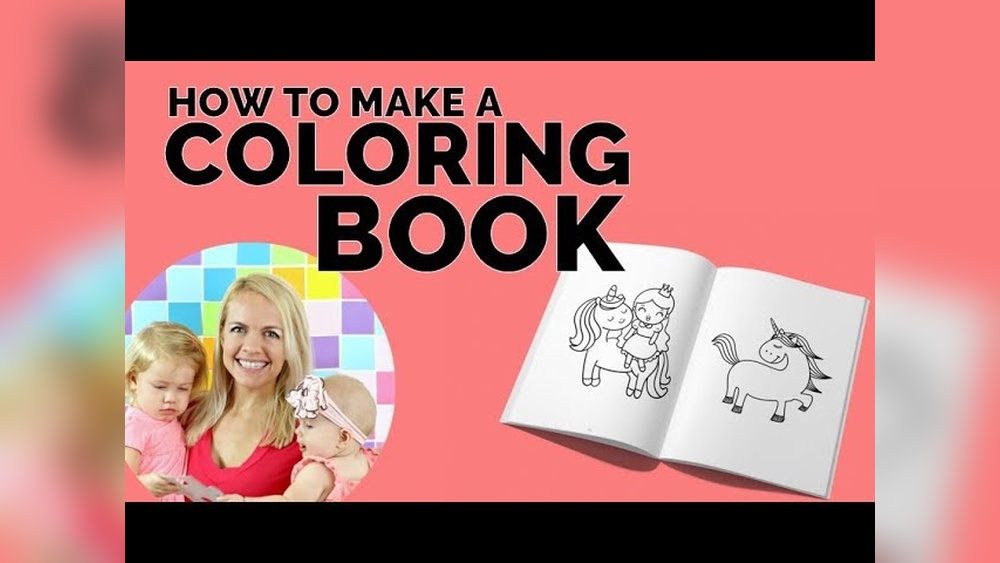
Are you ready to bring your creativity to life and make something truly special? Creating your own coloring book is easier than you think, and it’s a fantastic way to share your art, entertain kids, or even start a small business.
Whether you want to draw your own designs, use simple online tools, or explore AI-powered options, this guide will walk you through every step. By the end, you’ll have a clear plan to design, format, and assemble a beautiful coloring book that people will love to color in.
Keep reading, and discover how you can turn your ideas into a fun, printable masterpiece!
Choose A Theme
Choosing a theme is a key step in creating a coloring book. It gives your book a clear focus. A strong theme helps attract the right audience. It also guides your artwork and page design. Pick a theme that excites you. This keeps your project fun and inspiring.
Understand Your Audience
Think about who will use your coloring book. Kids, teens, or adults? Each group likes different themes. For children, simple shapes and animals work well. Adults might enjoy complex patterns or nature scenes. Knowing your audience helps pick a theme they will love.
Pick A Unique Concept
Choose a theme that stands out from others. Look for ideas not used much in coloring books. It could be a special hobby, a place, or a style. Unique themes catch attention and make your book memorable.
Match Theme With Your Skills
Choose a theme that fits your drawing skills. If you like sketching animals, pick an animal theme. If you prefer geometric shapes, use patterns. This makes creating pages easier and more enjoyable.
Keep The Theme Consistent
Stick to your theme throughout the book. Every page should connect to the main idea. Consistency makes your coloring book feel complete. It also helps buyers understand what to expect.

Credit: www.canva.com
Create Illustrations
Creating illustrations is the heart of any coloring book. Clear, simple drawings invite creativity. Your images should have bold lines and open spaces for coloring. The style depends on your theme and audience. Choose the method that suits your skills and resources.
Draw By Hand
Drawing by hand gives a personal touch. Use pencils, pens, or markers on clean white paper. Keep lines smooth and bold to make coloring easy. Scan your drawings at high resolution to digitize them. Edit the scans lightly to remove smudges or stray marks. Hand-drawn images often feel warm and unique.
Use Digital Tools
Digital tools speed up the process and offer flexibility. Programs like Adobe Illustrator or Procreate let you create crisp line art. Use vector lines for easy resizing without losing quality. You can correct mistakes quickly and add details with ease. Digital drawing also allows layering, which helps organize your work. Save your files in formats like PNG or SVG for printing.
Leverage Ai Generators
AI generators create quick line art from text prompts or photos. They can save time and spark ideas. Some tools let you customize style and complexity. Review and edit AI-generated images to ensure quality and originality. Use these images as a base or inspiration for your coloring book. AI can help when you need many illustrations fast.
Select Design Software
To create a coloring book, you need the right design software. It helps you draw, edit, and arrange your images. The software should be easy to use and offer useful tools. This section explores popular options for beginners and experienced users.
Canva Features
Canva offers a simple interface with drag-and-drop tools. It has many free and paid templates for coloring pages. You can add lines, shapes, and text easily. Canva allows exporting in high-quality PDF or image formats. Its library includes elements that suit coloring book themes. No advanced skills are needed to get started. Canva also supports collaboration if you work with others.
Alternatives Like Picmonkey And Befunky
PicMonkey provides powerful editing tools and effects. It is great for photo editing and creating outlines. You can use its brushes and drawing tools for custom designs. BeFunky offers a user-friendly platform with creative filters. It lets you turn photos into sketches for coloring pages. Both tools support exporting in multiple formats. They are affordable choices for hobbyists and small projects.
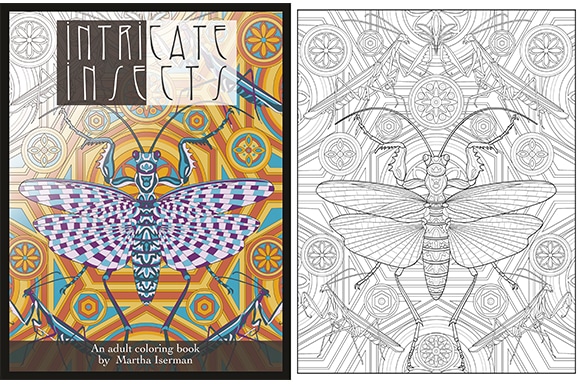
Credit: www.bookmobile.com
Set Page Dimensions
Setting the right page dimensions is a key step in creating a coloring book. The size affects how your illustrations look and how easy the book is to use. Choosing the right dimensions helps ensure your book prints well and feels comfortable to hold.
Think about who will use your coloring book. Kids might prefer larger pages with simple shapes. Adults might like smaller pages with detailed designs. Also, consider where the book will be sold or printed. Different platforms may require specific sizes.
Choosing Standard Page Sizes
Standard sizes make printing and binding easier. Common sizes include 8.5 x 11 inches, 8 x 10 inches, or square 8.5 x 8.5 inches. These sizes fit well in most printers and look familiar to buyers. Using a standard size also reduces printing costs.
Customizing Page Dimensions
Custom sizes let you create a unique look for your book. You can choose taller, wider, or square pages based on your art style. Remember, custom sizes may increase printing costs. Check with your printer before finalizing dimensions.
Considering Bleed And Margins
Bleed is the area that extends beyond the page edge. It ensures colors or lines reach the edge after trimming. Margins keep important content away from the edges. Set margins wide enough so no drawings get cut off during printing.
Setting Dimensions In Your Design Software
Use software like Adobe Illustrator, Photoshop, or Canva to set your page size. Enter the width and height in inches or pixels. Add bleed and margin guides to help place your designs. Save your work as a high-resolution PDF for printing.
Add Book Elements
Adding essential book elements gives your coloring book a polished look. These parts help organize the book and protect your work. Simple pages like an introduction and copyright notice add professionalism. Also, blank pages can protect your artwork from bleeding colors. These small steps improve the user experience.
Introduction Page
The introduction page welcomes readers to your coloring book. Use it to share a brief message or explain your theme. Keep the language clear and friendly. This page sets the tone and invites creativity. It helps users feel connected to your book.
Copyright Page
Include a copyright page to protect your work legally. State the copyright year and your name or business. Mention that copying or selling without permission is not allowed. This page shows you respect your creations. It also informs readers of their rights.
Blank Pages For Bleed Protection
Adding blank pages between coloring pages helps prevent color bleed. When users color with markers, ink can pass through thin paper. Blank pages act as a barrier to protect the next design. This keeps the artwork neat and clean. It also improves the coloring experience.
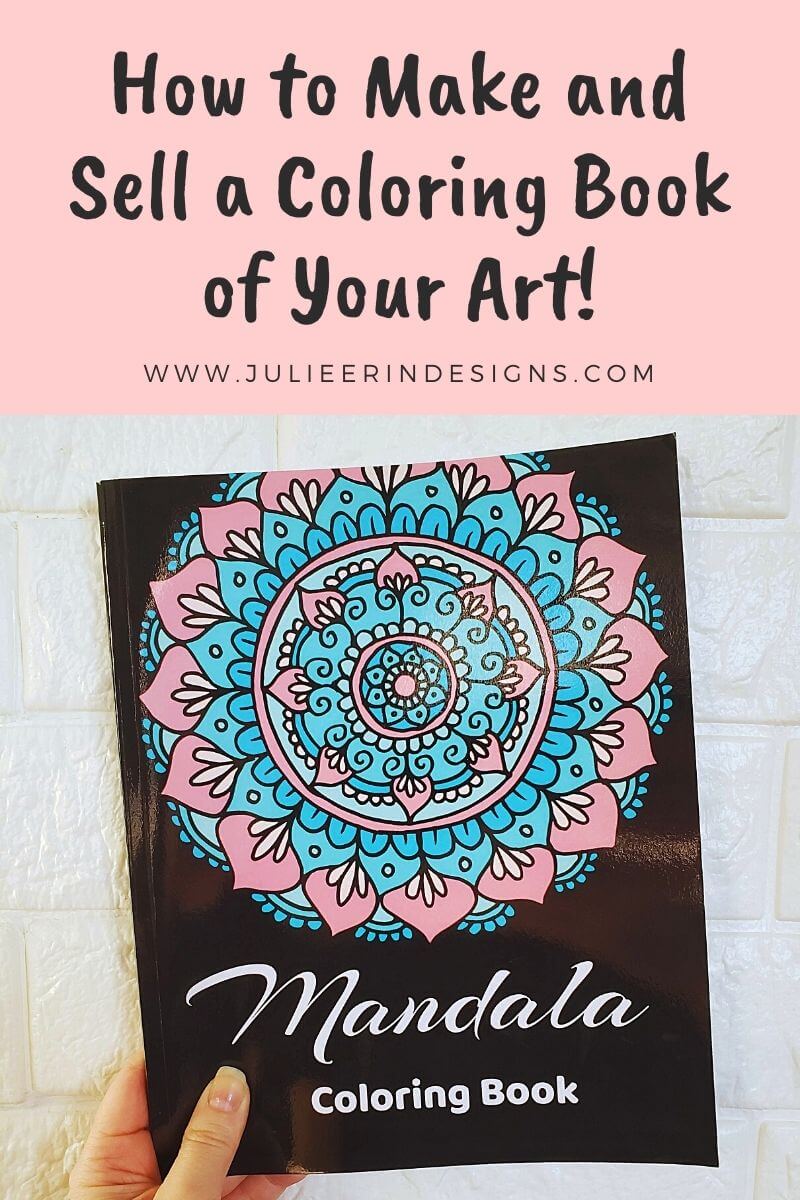
Credit: www.julieerindesigns.com
Arrange And Format Pages
Arranging and formatting pages is a key step in creating a coloring book. It ensures the book flows well and looks professional. Each page must be in the right order and size for printing.
Proper formatting helps avoid printing errors and makes the book easy to use. It also keeps the artwork clear and attractive. This section guides you through organizing and formatting your pages effectively.
Organize Your Pages Logically
Start by placing your pages in a clear order. Group similar images or themes together. This helps users enjoy a smooth coloring experience. Number each page to keep track.
Set The Correct Page Size
Choose a standard size for your coloring book. Common sizes include 8.5 x 11 inches or square formats. Make sure all pages match the chosen size exactly. This prevents trimming issues during printing.
Design For Double-sided Printing
Decide if your book will print on both sides of the paper. If yes, keep images away from the spine to avoid losing details. Use margins to protect important parts of your drawings.
Use Consistent Margins And Bleeds
Keep margins uniform on all pages. This creates a neat look and prevents important parts from cutting off. Add bleed areas if your images touch the page edges. Bleeds extend the artwork beyond the trim line to avoid white borders.
Save Pages In The Right Format
Export your pages in high-quality PDF format. PDFs preserve layout and image quality for printing. Check file resolution is at least 300 dpi for clear prints. Name files clearly to avoid confusion.
Incorporate Text
Incorporating text into your coloring book adds a unique touch. Text can guide, inspire, or entertain the user. It breaks the monotony of images and makes pages more interactive. Choosing the right style and placement ensures the text fits well with the artwork. This section covers how to add hollow lettering and how to position and style your text effectively.
Hollow Lettering For Coloring
Hollow lettering means letters with empty space inside. This style invites users to color the letters themselves. Use bold, simple fonts to make coloring easy. Avoid intricate fonts that confuse or frustrate. Hollow letters blend text with the coloring theme. They add fun and creativity to your pages.
Positioning And Styling
Place text where it balances the page design. Avoid covering important parts of your illustrations. Align text to follow the natural flow of your images. Use enough space around text for easy coloring. Choose colors for outlines that are clear but not too dark. Consistent styling helps your book look professional and neat.
Review Layouts
Reviewing the layouts of your coloring book pages is crucial. It ensures each page looks good and prints well. This step helps avoid problems before you finalize your book.
Careful layout review improves the user experience. It makes the coloring book enjoyable and easy to use.
Margin Checks
Check all page margins carefully. Margins prevent important parts from being cut off when printed. Keep enough space around edges for binding. Use consistent margins on every page. This keeps the book neat and professional.
Image Positioning
Place images in the center or slightly to one side. Avoid placing images too close to margins. Balanced image placement makes pages look organized. It also makes coloring easier for users. Check alignment on each page to keep uniformity.
Export As Pdf
Exporting your coloring book as a PDF is a crucial step. A PDF keeps your designs clear and ready for printing or sharing. It ensures your pages look professional and stay in order.
Many design programs support PDF export. This format works well for both digital and print versions of your book.
Set The Correct Page Size
Choose the size that matches your coloring book. Common sizes include 8.5 x 11 inches or square formats. Setting the right size prevents cropping or resizing issues later.
Check Image Quality
Use high-resolution images for sharp lines and details. A resolution of 300 dpi is ideal for printing. Low-quality images may look blurry or pixelated in the final PDF.
Include Bleed And Margins
Add bleed to avoid white edges after trimming. Margins keep your artwork safe from being cut off. Most design software allows you to set these options before export.
Export Settings For Print
Choose PDF/X-1a or PDF print presets if available. These settings optimize your file for commercial printing. Embed fonts and use CMYK color mode for best results.
Export Settings For Digital Use
For digital books, use RGB color mode and compress file size. This keeps the PDF easy to download and view on screens. Ensure the file remains clear without too much compression.
Review And Test Your Pdf
Open the exported PDF on different devices. Check for missing pages, image quality, and layout issues. Print a test copy to see how it looks on paper.
Prepare For Printing
Preparing your coloring book for printing is a crucial step. It ensures your designs look great on paper. This phase involves selecting the right print settings and learning key self-publishing tips. Proper preparation helps avoid costly mistakes and makes the final product appealing.
Choosing Print Options
Select paper type carefully. Thick, matte paper works best for coloring books. It prevents colors from bleeding through pages. Decide on the book size. Common sizes include 8.5 x 11 inches or square formats.
Choose between black and white or color printing. Black and white saves money and suits line art. Color printing adds vibrancy but costs more. Pick binding style. Spiral binding lies flat and is user-friendly. Perfect binding looks professional but may be harder to color near the spine.
Set the correct margins. Leave enough space for coloring and binding. Confirm resolution is at least 300 dpi for clear images. Check print proofs before finalizing your order. This step helps catch errors early.
Self-publishing Tips
Use print-on-demand services to save upfront costs. Platforms like Amazon KDP or IngramSpark offer easy distribution. Upload your files in PDF format for best results. Include a detailed description and keywords for better online visibility.
Set a competitive price by researching similar books. Promote your book on social media and local stores. Collect feedback from early buyers to improve future editions. Keep your design files organized for quick updates or reprints.
Frequently Asked Questions
What Software Can I Use To Create A Coloring Book?
Use Canva, Adobe Illustrator, BeFunky, or ColorBliss to create and format coloring book pages easily.
Can I Use Canva To Create A Coloring Book?
Yes, you can use Canva to create coloring books by designing pages with line art and formatting them for print.
What Ai Can I Use To Create A Coloring Book?
Use AI tools like ColorBliss or ColorifyAI to generate custom coloring pages quickly. Canva also helps design and format coloring books easily.
Is It Legal To Sell Canva Coloring Books?
Selling Canva coloring books is legal only if you create original designs. Combine Canva elements creatively to make new works. Avoid selling Canva content alone without significant modification. Use Canva to design and sell unique digital or physical products. Always follow Canva’s licensing terms carefully.
What Tools Do I Need To Create A Coloring Book?
You need drawing software or apps like Canva, Photoshop, or free tools like GIMP.
How Do I Choose Themes For My Coloring Book?
Pick popular or niche topics that interest your target audience, like animals or holidays.
Can I Use Ai To Help Make Coloring Pages?
Yes, AI tools like ColorBliss can generate line art quickly for coloring books.
What File Format Is Best For Coloring Book Pages?
Use high-quality PDF or PNG files for clear, printable coloring pages.
How Many Pages Should A Coloring Book Have?
Most coloring books have between 20 to 50 pages, balancing content and cost.
How Do I Make My Coloring Book Unique?
Add original drawings, creative themes, or interactive elements like puzzles and activities.
Conclusion
Creating a coloring book takes creativity and simple steps. Choose a clear theme and make fun drawings. Use easy tools like Canva to design your pages. Remember to format pages correctly for printing. Add blank pages to give space for coloring.
Keep your designs original and simple to attract users. Take time to review your work before printing. Enjoy sharing your coloring book with others. This process lets you bring ideas to life clearly and creatively.