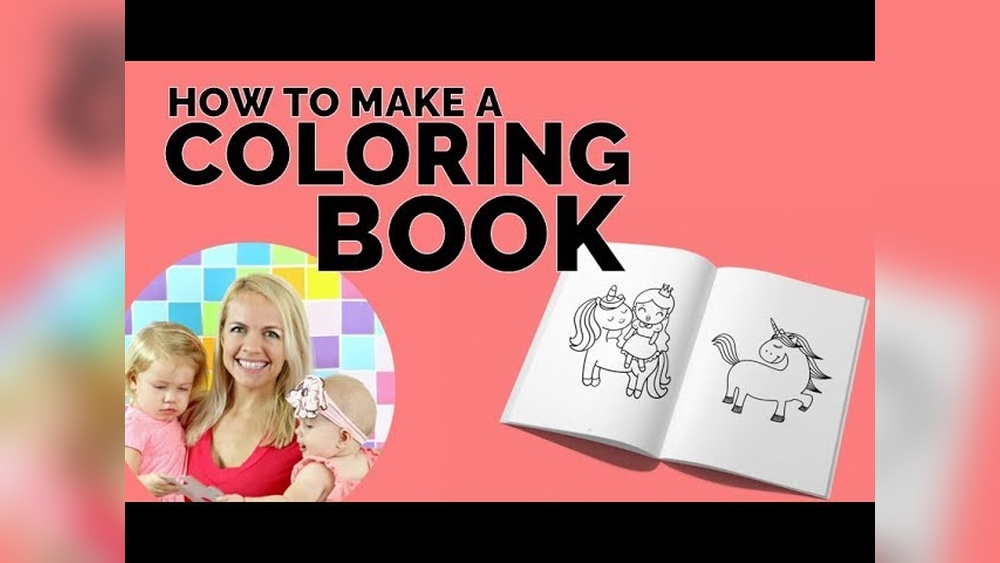
Are you ready to create something fun and personal that you—and others—will love? Making your own coloring book is easier than you think, and it gives you a chance to unleash your creativity while crafting a unique gift or a fun activity.
Whether you want to design pages for your kids, share your art with friends, or even start a small business, this guide will walk you through every step. By the end, you’ll know exactly how to turn your drawings or ideas into a beautiful, ready-to-color book.
Let’s dive in and make your coloring book come to life!

Credit: www.instructables.com
Choose A Theme
Choosing a theme is the first step in creating a coloring book. It gives your book a clear focus and makes it more enjoyable. The theme helps guide your drawings and sets the tone for the whole book.
A well-chosen theme connects with the audience. It makes the coloring book feel special and unique. Themes can be simple or complex, depending on your goal.
Consider Your Audience
Think about who will use your coloring book. Kids might like animals or fairy tales. Adults may prefer patterns or nature scenes. Knowing your audience helps pick the right theme.
Pick A Theme You Enjoy
Choose something you like. Your passion will show in your work. Drawing what you love makes the process fun and creative. It also keeps you motivated.
Look For Popular Themes
Some themes sell well and attract many people. Examples include holidays, seasons, or famous places. Check online stores to see what themes are popular now.
Make It Unique
Try adding a twist to common themes. Combine ideas or add your style. A unique theme helps your coloring book stand out. It makes it more memorable.
Create Line Art
Creating line art is a key step in making a coloring book. Clear, simple lines form the base for coloring pages. Good line art invites creativity and makes coloring fun. It should be easy to follow and not too detailed.
There are different ways to create line art. You can draw by hand or use digital tools. Another option is to use public domain images and convert them into line art. Each method has its own benefits.
Hand-drawing Techniques
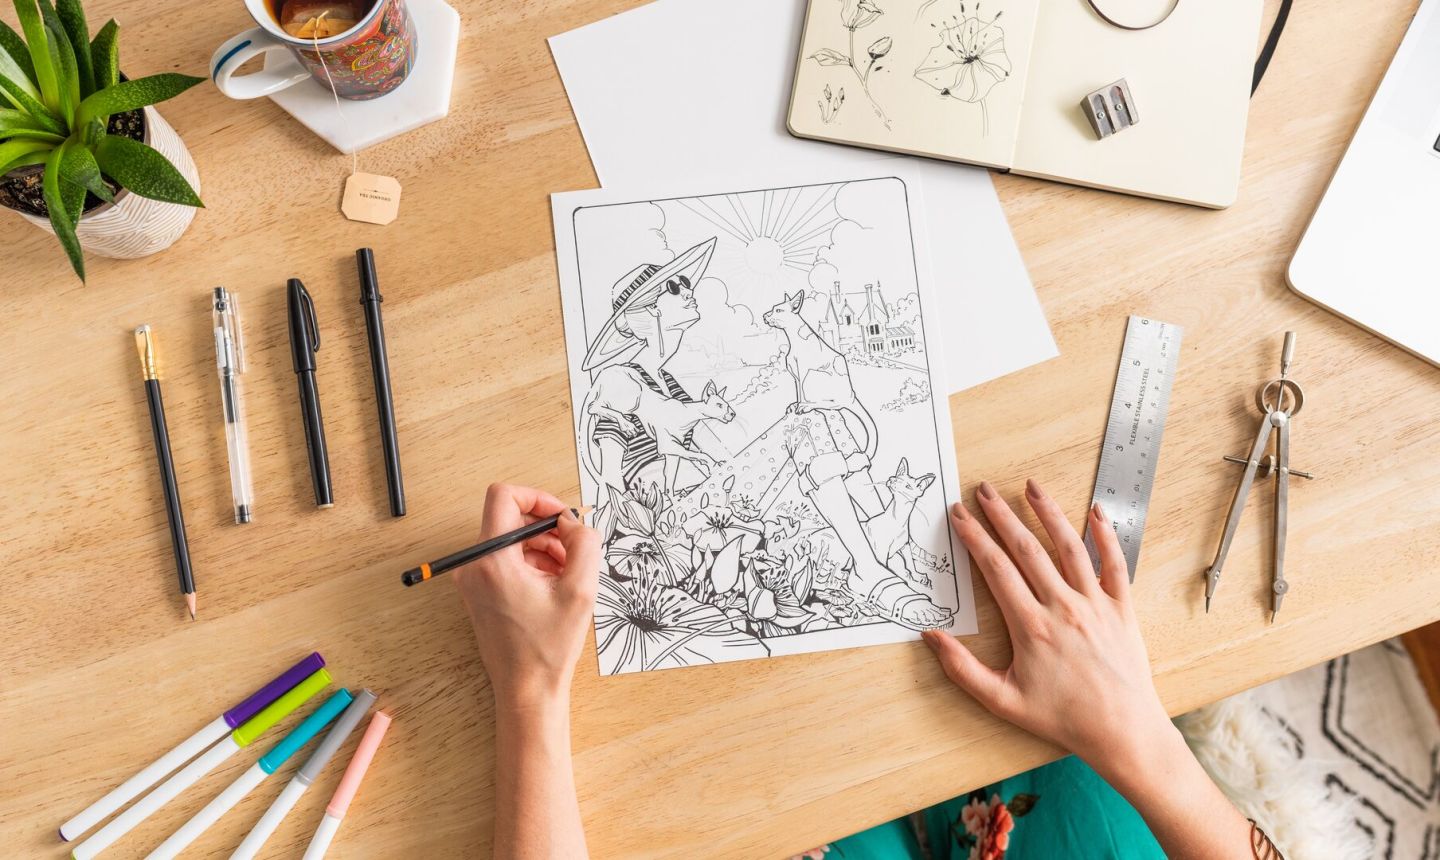
Start with pencil sketches on plain paper. Keep your lines smooth and confident. Use a fine-tip black pen to outline the sketches. Erase pencil marks after inking to keep the art clean. Try using tracing paper to refine your drawings. Hand drawing gives a personal and unique touch to your book. It also allows for creative freedom and easy changes.
Digital Illustration Tools
Use software like Adobe Illustrator or free tools like Inkscape. These programs offer features for creating crisp, scalable line art. Work with a digital pen or mouse to draw outlines. Adjust line thickness and smooth curves easily. Digital tools save time and help fix mistakes quickly. They also make it simple to prepare files for printing.
Using Public Domain Images
Search for images labeled as public domain or free to use. Convert these images to line art using photo editing software. Increase contrast and use filters to highlight edges. Trace over details to clean up the lines. This method is cost-effective and offers a wide variety of images. Always verify the image’s license before use.
Design Page Layouts
Designing page layouts is a key step in making a coloring book. It shapes how each page looks and feels. Good layouts make the book easy and fun to use. Each page should have the right size, clear artwork, and helpful text. These parts work together to create a great experience for the user.
Focus on simple and clean design. Keep space around drawings so users can color easily. Balance the elements on the page to avoid clutter. Now, let’s explore how to set page sizes, arrange artwork, and add text elements for your coloring book.
Setting Page Size
Choose a page size that fits your book’s purpose. Common sizes are 8.5 x 11 inches or square formats. Make sure the size works well for printing and binding. Set your design software to this size before starting. Consistent page size keeps the book neat and professional. It also helps the artwork fit properly on each page.
Arranging Artwork
Place your drawings clearly in the center or with some margin. Avoid placing images too close to the edges. Leave enough space for coloring without feeling cramped. Group similar images by theme or style for a smooth flow. Use the same style of borders or frames to unify pages. Keep the artwork black and white with clean lines for easy coloring.
Adding Text Elements
Include simple text to guide or inspire users. Use clear fonts that are easy to read. Place text away from the artwork to avoid overlap. Keep messages short and positive. Examples include page numbers, titles, or fun facts. Text adds meaning and helps users connect with the pages. Avoid clutter by limiting text to a few words per page.
Craft A Cover
Crafting a cover for your coloring book is a key step. The cover is the first thing people see. It needs to grab attention and show what your book offers.
A strong cover helps your book stand out on shelves or online. It invites people to open and explore inside. Good design creates a lasting impression.
Cover Design Tips
Choose bright and inviting colors that match your theme. Use clear, simple images that relate to your coloring pages. Avoid clutter; keep the design clean and focused.
Make sure your cover looks good both as a small thumbnail and a full-size image. Use easy-to-read fonts. Balance text and images well to create harmony.
Including Title And Branding
Place the title where it is easy to spot. Use large, bold letters for the title to catch the eye. Include your name or brand to build recognition.
Keep branding consistent with your other work or website. This helps people remember you and find more of your books. A clear title and brand make your book feel professional.
Select Software Tools
Selecting the right software tools is a key step in making a coloring book. The software you use affects the quality and style of your pages. It also influences how easy it is to create and edit your designs. Many tools offer different features for drawing, layout, and exporting your work. Choose software that fits your skill level and project needs. Some tools work better for beginners, while others suit advanced users. Understanding your options helps you create a better coloring book.
Canva And Alternatives
Canva is popular for its simple drag-and-drop interface. It offers many templates and design elements for coloring books. You can add shapes, lines, and text easily. Canva works well for beginners with no drawing skills. Alternatives like Crello and PicMonkey provide similar features. These tools run in your browser and need no installation. They support exporting your design as PDF or image files. These options save time and are cost-effective for simple projects.
Using Adobe Illustrator
Adobe Illustrator is a powerful tool for creating detailed line art. It uses vector graphics, which means images stay sharp at any size. Illustrator offers advanced tools for drawing, tracing, and editing shapes. It suits artists who want full control over their designs. You can create clean, scalable artwork perfect for printing. The learning curve is steeper but worth it for professional results. Illustrator exports files in formats used by printers and publishers.
Free And Paid Options
Free software like Inkscape and GIMP can create quality coloring pages. They offer many tools similar to paid programs but may lack some features. Free tools are great for beginners or those on a budget. Paid options include Adobe Illustrator, CorelDRAW, and Affinity Designer. These programs offer better support, updates, and more advanced tools. Consider your budget and project needs before choosing. Both free and paid software can produce excellent coloring books.
Print Your Book
Printing your coloring book is the final step to bring your creation to life. The way you print affects the quality, feel, and cost of your book. Choose a printing method that fits your needs and budget. Two main options exist: printing at home or using professional printing services.
Home Printing Methods
Home printing lets you produce small quantities quickly. Use a good inkjet or laser printer for sharp lines and clean pages. Print on thick, white paper for the best coloring experience. Matte paper works well to reduce glare and smudging. Set your printer to the highest quality mode for clear images. Print single or double-sided pages depending on your book design. Bind your pages using staples, a spiral binder, or simple glue. Home printing is cost-effective for small batches and personal use.
Professional Printing Services
Professional printing offers high-quality results and more options. Print shops and online services provide various paper types, sizes, and finishes. Choose thicker paper to prevent ink bleed-through. Glossy or matte covers add a polished look. You can print large volumes, reducing the cost per book. Professional binding options include perfect binding, saddle stitching, or coil binding. Many services allow you to upload your files and order online. This method suits creators who want a polished product to sell or gift.
Choose Binding Style
Choosing the right binding style is key to making a great coloring book. It affects how easy the book is to use and how long it lasts. The binding holds all the pages together and helps the book stay flat when open. Select a style that fits your budget and the book’s purpose.
Spiral And Wire-o Binding
Spiral and Wire-O binding use metal coils to hold pages. They let the book lay flat and fold back on itself. This makes coloring easier on every page. Both types are strong and flexible. Wire-O looks neater but costs a bit more. These bindings are perfect for kids and artists who want to color comfortably.
Perfect Binding Options
Perfect binding glues pages together at the spine. It creates a clean, professional look. This style works well for thick coloring books with many pages. The book feels more like a paperback. Perfect binding is less flexible than spiral. It is good for gift books or selling in stores. The glued spine keeps pages secure but does not open flat.
Prepare For Selling
Preparing your coloring book for sale is a vital step in turning your creative work into profit. This stage ensures your product reaches the right buyers and stands out in the market. Focus on setting the right price and crafting clear product listings. Both steps help attract customers and boost sales.
Setting Prices
Set a price that matches the quality and effort in your coloring book. Research prices of similar books to find a fair range. Avoid pricing too high or too low. High prices may push buyers away. Low prices might undervalue your work. Consider production costs and your target audience’s budget. Adjust prices if needed based on customer feedback and sales.
Creating Product Listings
Write simple and clear product descriptions. Highlight key features like page count, themes, and paper quality. Use easy words so everyone understands. Add good photos or previews of the coloring pages. Show customers what they will get. Include details about file formats if selling digital books. Make sure your listing looks neat and professional. This helps build trust and encourages purchases.
Market Your Book
Marketing your coloring book is key to reaching a wider audience. Without proper promotion, your book may stay unnoticed. Use simple strategies to share your work and attract buyers. Focus on places where your potential customers spend time online. Consistent marketing builds awareness and drives sales over time.
Social Media Strategies
Post regularly on platforms like Instagram and Facebook. Share images of your coloring pages to catch attention. Use short videos to show how fun your book is. Engage with followers by asking questions or running small contests. Collaborate with artists or influencers who enjoy coloring. Use clear, simple captions that explain your book’s value. Respond quickly to comments to build trust and interest.
Using Online Marketplaces
List your coloring book on websites like Amazon, Etsy, and eBay. Choose clear titles and descriptions with keywords people search for. Upload high-quality images showing your book’s best pages. Set a fair price based on similar products. Encourage buyers to leave reviews to boost credibility. Keep your store updated with new listings or offers. Use marketplace ads to reach more customers in your niche.

Credit: www.youtube.com
Legal Considerations
Creating a coloring book involves more than just drawing and designing. Legal issues play a big role. Understanding these rules helps avoid problems later. It protects your work and respects others’ rights.
Copyright And Usage Rights
All images and drawings have copyright. You cannot use others’ work without permission. Creating original art is the safest way. If using others’ work, get a license or permission. Public domain and free-use resources are good options. Always check terms of use before including any content. Selling a book with copyrighted material without rights is illegal.
Canva Content Guidelines
Canva is popular for making coloring books. It offers many design elements, but rules apply. You cannot sell Canva elements alone. Combine Canva content with your own designs to create original work. Read Canva’s licensing agreements carefully. Use their free and paid elements properly. Following these rules avoids copyright claims and account issues. Check for any changes in Canva’s policies regularly.
Credit: www.craftsy.com
Frequently Asked Questions
What Is The Free App To Make A Coloring Book?
ColorBliss is a free app that creates custom coloring pages and full books from photos or prompts. It’s user-friendly and ideal for parents and teachers.
Is It Legal To Sell Canva Coloring Books?
Selling Canva coloring books is legal only if you create original designs using Canva elements. Avoid selling Canva content alone.
Can I Use Canva To Create A Coloring Book?
Yes, Canva lets you design coloring books by creating and arranging line art pages easily. Customize covers and layouts.
What Is The Best Binding For A Coloring Book?
Spiral or Wire-O binding works best for coloring books. It allows pages to lie flat, making coloring easier and more comfortable.
What Materials Do I Need To Start Making A Coloring Book?
You need paper, drawing tools, scanner or camera, and software for editing and layout.
How Can I Create Coloring Pages For My Book?
Draw by hand or use digital tools to create simple black-and-white line art images.
What Software Is Best For Designing A Coloring Book?
Programs like Canva, Adobe Illustrator, or free tools like Inkscape work well for design.
How Do I Format My Coloring Book For Printing?
Set page size, margins, and resolution correctly; arrange pages in order using design software.
Can I Use Photos To Make Coloring Pages?
Yes, you can convert photos to line art using apps or filters for coloring pages.
How Do I Make My Coloring Book Suitable For Kids?
Use simple shapes, clear lines, and fun themes that match children’s interests and skill levels.
Conclusion
Creating a coloring book can be a fun and rewarding project. Start with simple drawings and clear outlines. Use easy tools like Canva or free apps to design pages. Keep the themes interesting for your audience. Print your pages or share them digitally.
Practice makes your designs better each time. Enjoy the process and share your creativity with others. Making a coloring book is a great way to express art and have fun.