
Using an airless paint sprayer can transform your painting projects. This tool makes it faster and easier to cover large areas with a smooth finish.
If you’ve ever struggled with traditional brushes or rollers, an airless paint sprayer may be the solution you need. It works by forcing paint through a tiny nozzle, providing a fine mist that adheres evenly to surfaces. This method reduces the time and effort needed for paint application.
Understanding how to use an airless paint sprayer correctly will help you achieve professional results. In this guide, we will walk you through the essential steps, tips, and techniques. Get ready to elevate your painting experience and bring your vision to life with ease.
Table of Contents
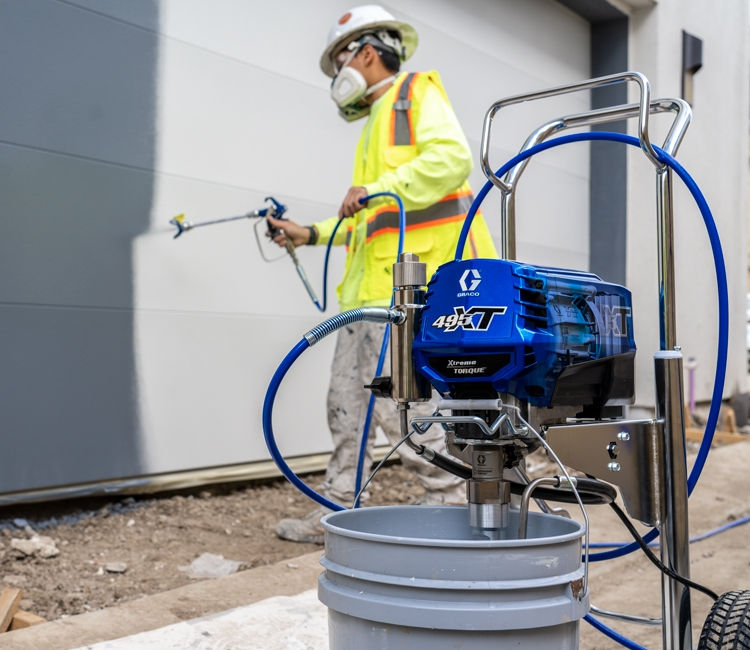
Credit: www.graco.com
Introduction To Airless Paint Sprayers
Airless paint sprayers are popular tools for quick and efficient painting. They create a smooth finish on various surfaces. Understanding how they work can enhance your painting experience.
These sprayers use high pressure to push paint through a small nozzle. This method reduces the need for brushes or rollers. It saves time and effort while achieving a professional look.
What Is An Airless Paint Sprayer?
An airless paint sprayer applies paint without using compressed air. Instead, it relies on a hydraulic pump to force paint out. This process atomizes the paint, creating a fine mist. The result is an even coat on walls, fences, and furniture.
Airless sprayers come in various sizes. Some are designed for large projects, while others are perfect for small tasks. They can handle different paint types, including latex and oil-based paints.
Benefits Of Using An Airless Sprayer
Using an airless sprayer has many advantages. First, it saves time. You can cover large areas quickly. Second, it provides a smooth finish. There are fewer brush marks or roller lines.
Airless sprayers are versatile. They work on different surfaces, like wood, metal, and drywall. They also adjust to various paint viscosities. This flexibility makes them ideal for many painting projects.
Lastly, they reduce paint waste. The high pressure allows for precise application. This means less overspray and cleaner work areas.
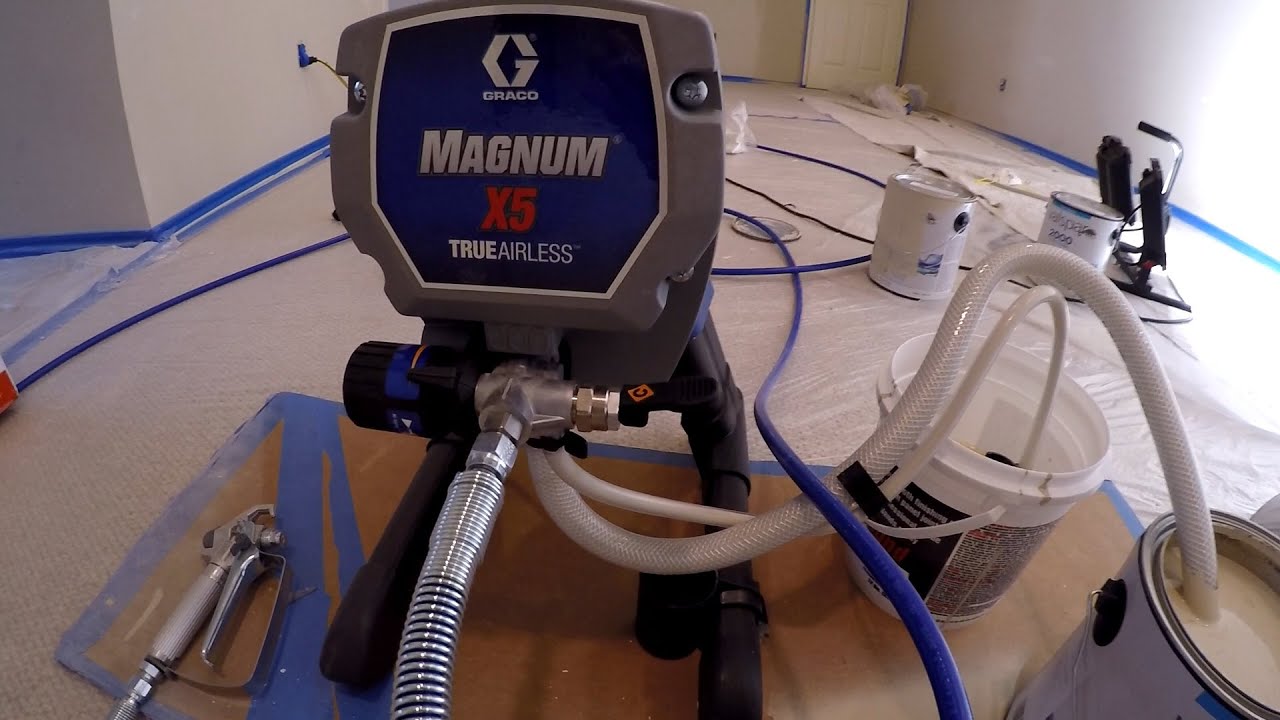
Credit: www.youtube.com
Safety First
Using an airless paint sprayer requires a focus on safety. Always wear protective gear like gloves, goggles, and a mask. Proper setup and careful handling ensure a smooth painting experience while minimizing risks of accidents and exposure to harmful materials.
When it comes to using an airless paint sprayer, prioritizing safety is essential. The power and efficiency of these sprayers can lead to serious accidents if proper precautions aren’t taken. Whether you’re a seasoned pro or a DIY enthusiast, understanding the safety protocols can save you from potential hazards and ensure a smooth painting experience.
Personal Protective Equipment
Always start your painting project by wearing the right personal protective equipment (PPE). This includes a high-quality respirator to protect your lungs from harmful fumes and particles.
Don’t overlook gloves; they shield your hands from chemicals and paint. A pair of durable safety goggles is crucial too, as they keep your eyes safe from splatters.
Before you begin, check your gear. Are your goggles free of scratches? Are your gloves intact? Proper PPE is your first line of defense against potential injuries.
Understanding Spray Gun Safety Features
Airless paint sprayers come equipped with various safety features designed to protect users. Familiarize yourself with these features before starting your project.
Most sprayers include a pressure control valve. This allows you to adjust the spray pressure for different surfaces, reducing the risk of over-spraying and potential accidents.
Another vital feature is the spray tip guard. It prevents accidental trigger activation and minimizes the risk of injury. Always ensure the guard is in place before you start spraying.
Have you ever experienced a malfunction? Knowing how to quickly turn off your sprayer can make a significant difference in an emergency. Always read the manufacturer’s manual to understand the safety features specific to your model.
By putting safety first, you not only protect yourself but also make your painting project more enjoyable. Your home deserves a fresh coat, and with the right precautions, you can achieve a flawless finish without compromising your well-being.
Setting Up Your Airless Paint Sprayer
Setting up your airless paint sprayer is simple and quick. Begin by connecting the hoses and ensuring a secure fit. Adjust the pressure settings to suit your project, and you’re ready to start spraying. Follow these steps for an efficient painting experience.
Setting up your airless paint sprayer correctly is crucial for achieving a smooth and professional finish. A well-prepared sprayer not only saves you time but also enhances the quality of your work. Whether you’re painting a fence or revamping your living room, understanding the setup process will ensure you get the best results.
Assembling The Sprayer Components
Start by unpacking all the components of your airless paint sprayer. Familiarize yourself with each part, including the spray gun, hose, and paint container.
Most sprayers come with clear instructions, but here’s a quick checklist to guide you:
– Connect the hose: Ensure it is securely attached to both the pump and the spray gun.
– Attach the spray tip: Choose the right size for your project. A smaller tip is best for fine work, while a larger one is suitable for big areas.
– Check for leaks: Before you start, test all connections for any leaks. This can save you from messy surprises later on.
Once everything is connected, stand back and take a moment to appreciate your setup. It’s the foundation for your painting success.
Preparing The Paint And Sprayer
Preparing your paint is just as important as assembling the sprayer. If you’re using a thicker paint, consider thinning it to ensure smooth spraying. Most manufacturers provide guidelines on how much to thin, so check the label.
Next, fill the paint container. Avoid overfilling to prevent spills. I once made that mistake and ended up with paint everywhere!
Prime the sprayer by running some paint through it before starting your project. This will help eliminate air bubbles and ensure a consistent spray pattern.
Adjust the pressure settings based on your paint type and surface. Higher pressure can lead to overspray, while lower pressure might not cover well. You want to find that sweet spot for optimal performance.
Are you ready to see how your hard work in setting up pays off? The first spray will be a rewarding moment as you watch the paint glide on smoothly.
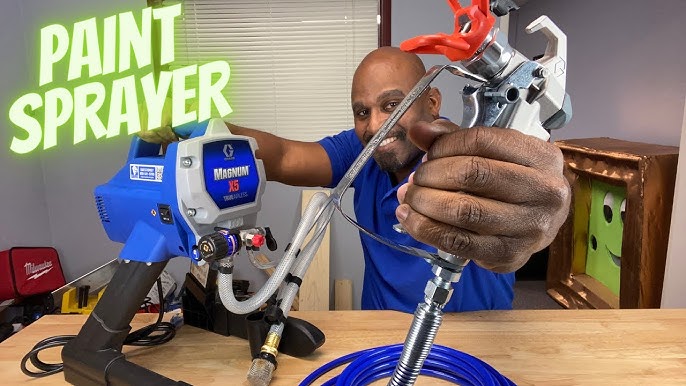
Credit: www.youtube.com
Priming The Airless Paint Sprayer
Priming your airless paint sprayer is crucial for smooth operation. It prepares the sprayer for paint application. Proper priming reduces clogs and ensures an even spray. Follow these steps to prime your sprayer correctly.
The Role Of The Primer Knob
The primer knob helps to control the flow of paint. Adjusting this knob can make priming easier. Turn the knob to the prime position. This allows paint to flow through the system.
Check the manual for specific instructions. Different models may have slight variations. Always ensure the knob is in the right position before starting.
Flushing The System Before Use
Flushing the system is essential before painting. This process clears any leftover materials. Start by filling the sprayer with clean water or solvent. Turn on the sprayer to begin the flushing process.
Allow the sprayer to run until the fluid flows smoothly. This step removes air and debris from the lines. Once done, the sprayer is ready for paint.
Make sure to follow safety precautions. Wear protective gear to avoid inhaling fumes. Take your time to ensure everything is clean and ready.
The Spraying Technique
Using an airless paint sprayer effectively requires skill and practice. The right spraying technique ensures smooth, even coverage. This section covers key elements to help you spray like a pro.
Adjusting The Pressure Settings
Start by setting the right pressure. Check the paint manufacturer’s recommendations. Higher pressure suits thinner paints. Lower pressure works well for thicker paints.
Adjust the pressure gradually. Test the spray pattern on a scrap surface. A good spray should look like a fan. Too much pressure causes overspray and splatter.
Mastering The Spray Motion
Hold the sprayer about 12 inches from the surface. Move your hand steadily. Use a side-to-side motion. Keep the nozzle perpendicular to the surface.
Start moving before you pull the trigger. This technique avoids heavy spots. Release the trigger before stopping the motion. This keeps the paint flow even.
Tips For Even Coats
Overlap each pass by about 50%. This ensures an even coat. Avoid going too slow in one area. This can cause drips and runs.
Keep an eye on your distance. Maintain a consistent space from the surface. Practice on cardboard to find your rhythm.
Finally, take breaks as needed. Resting helps maintain focus. A steady hand leads to a professional finish.
Maintenance And Troubleshooting
Using an airless paint sprayer requires regular maintenance and troubleshooting skills. Familiarize yourself with the sprayer’s components to avoid common issues. Proper cleaning and setup can enhance performance, ensuring a smooth painting experience. Understanding how to fix clogs and adjust pressure will also improve your results.
Maintaining your airless paint sprayer is essential for ensuring its longevity and optimal performance. Proper maintenance can save you time and frustration, especially when you’re in the middle of a project. Knowing how to clean, troubleshoot, and resolve common issues can make the difference between a smooth painting experience and a messy one.
Cleaning The Sprayer After Use
Cleaning your sprayer immediately after use is crucial. Paint residue can harden and clog the system if left unattended.
1. Flush the System: Start by flushing the sprayer with the appropriate solvent. For water-based paints, use water; for oil-based paints, use mineral spirits.
2. Disassemble the Parts: Take apart the spray gun and remove the filter. Soak these components in the solvent to dissolve any paint left behind.
3. Rinse Thoroughly: After soaking, rinse everything thoroughly with clean solvent. Ensure that no paint remains in the nozzle or pump.
Neglecting this step can lead to costly repairs. How often do you find yourself rushing through cleanup? Make it a habit to clean your sprayer right away.
Unclogging The Sprayer Nozzle
A clogged nozzle can halt your project and frustrate your efforts. Here’s how to tackle this issue effectively.
1. Turn Off the Sprayer: Always start by turning off the machine to avoid accidental spraying.
2. Remove the Nozzle: Take off the nozzle and inspect it for blockages. You can often clear minor clogs with a soft brush or a small wire.
3. Soak and Clean: If the clog persists, soak the nozzle in a solvent before trying to clean it again.
This simple process can save you from replacing parts. Have you ever had a project delayed because of a simple clog?
Troubleshooting Common Issues
Even the best sprayers can run into problems. Here are some common issues and how to address them.
– Low Pressure: Check for air leaks in the hoses and connections. Tightening fittings often resolves this issue.
– Uneven Spray Pattern: This can be due to a dirty or damaged nozzle. Cleaning or replacing the nozzle should fix the problem.
– Paint Dripping: Dripping usually occurs from an improperly adjusted pressure setting. Adjust the pressure to achieve a smooth flow.
Don’t let minor issues derail your painting project. Knowing how to troubleshoot can keep you on track. What common problems have you faced, and how did you solve them?
Maintaining your airless paint sprayer doesn’t have to be daunting. With simple cleaning, unclogging techniques, and troubleshooting skills, you’ll keep your sprayer in top shape, ready for your next project.
Advanced Tips For Professional Results
Using an airless paint sprayer can lead to stunning finishes. With a few advanced techniques, you can achieve professional results. These tips focus on preparation, technique, and material handling. Master these, and your projects will shine.
Masking Off Areas
Proper masking is essential for a clean job. Use painter’s tape to cover edges and trim. Make sure the tape adheres well to prevent paint bleed.
For larger areas, use drop cloths to protect surfaces. Secure them to avoid movement during spraying. This extra step saves time on cleanup.
Handling Over-spray And Drips
Over-spray can happen even with careful spraying. To minimize it, maintain a consistent distance from the surface. Aim for about 12 inches away.
Keep the sprayer moving. Use a steady hand to avoid drips. If drips occur, quickly smooth them out with a brush.
Working With Different Materials
Different materials require different approaches. For wood, use a finer spray tip. This ensures an even coat and reduces splatter.
For metal surfaces, use a primer before painting. This helps the paint adhere better. Always check paint labels for specific guidelines.
Frequently Asked Questions
What Is The Number One Rule When Using An Airless Spray Gun?
The number one rule when using an airless spray gun is to always wear appropriate personal protective equipment (PPE). This includes a respirator, gloves, and eye protection to safeguard against harmful materials in the spray. Prioritizing safety ensures a better and safer spraying experience.
Do I Need To Thin Paint For Airless Sprayer?
Thinning paint for an airless sprayer is not always necessary. Most interior wall paints can be sprayed directly. If the paint is too thick and doesn’t flow well, consider thinning it slightly. Always check the manufacturer’s instructions for specific guidance on thinning requirements.
How Hard Is It To Use An Airless Paint Sprayer?
Using an airless paint sprayer is relatively easy for most users. It requires basic setup and operation knowledge. Practice helps improve technique and efficiency. Ensure proper safety measures and follow manufacturer instructions for best results. Overall, with some guidance, anyone can master its use effectively.
How Do You Use A Paint Sprayer For Beginners?
To use a paint sprayer as a beginner, start by reading the manual. Prepare the area by covering surfaces you don’t want to paint. Fill the sprayer with paint, adjusting the pressure. Practice on cardboard first. Spray in even strokes, maintaining a consistent distance from the surface.
Clean the sprayer after use.
Conclusion
Using an airless paint sprayer can simplify your painting tasks. With practice, you’ll gain confidence and skill. Remember to always prioritize safety while spraying. Keep your workspace clean and organized for best results. Regular maintenance will extend the life of your sprayer.
Experiment with different techniques to find what works for you. Soon, you’ll enjoy a smooth and even finish on every project. Embrace the convenience and efficiency of this tool. Happy painting!