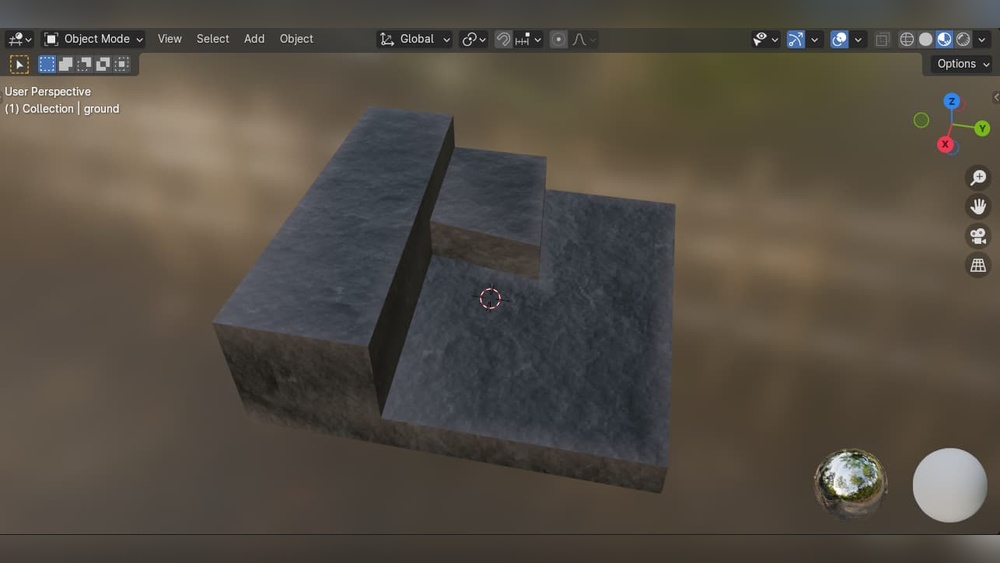
If you’ve ever tried to bring a Blender model into another software and noticed your carefully painted vertex colors didn’t come through, you’re not alone. Getting your vertex colors to import correctly can feel tricky, but it’s a crucial step to preserving the look and feel of your 3D art.
In this guide, you’ll discover simple, clear steps to import a Blender model with vertex colors intact. Whether you’re working on a game, animation, or visualization, learning this process will save you time and frustration—and help your projects stand out with vibrant, accurate coloring.
Keep reading to master the technique and unlock the full potential of your Blender models!

Credit: forums.armory3d.org
Prepare Blender Model
Preparing your Blender model for import with vertex colors is a key step. This process ensures the colors applied to the model’s vertices transfer correctly. Follow simple checks and set up the right mode before exporting.
Proper preparation saves time and avoids errors in other software. It helps keep the color information intact and visible on your model.
Check Vertex Color Attributes
Open your model in Blender. Go to the Properties panel and find the vertex color data. Verify the vertex color attribute exists. It should be named clearly, like “Col” or “Color”.
Remove any unused or duplicate color attributes. Keep only the one you want to export. Check that colors are assigned correctly to all vertices. This step prevents confusion during import.
Set Up Vertex Paint Mode
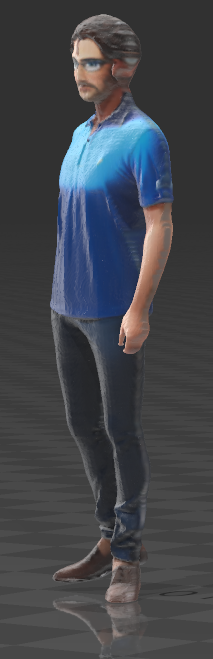
Switch Blender to Vertex Paint mode. This mode lets you paint colors directly on the model’s vertices. It shows how the vertex colors appear in real time.
Use simple brushes to add or edit colors. Make sure the colors cover the model fully. Save your work after painting to avoid losing changes.
Credit: blender.stackexchange.com
Apply Vertex Colors
Applying vertex colors adds life and detail to your Blender models. It lets you paint colors directly onto the vertices of the mesh. This approach is lightweight and helps create rich textures without extra image files. Properly applying vertex colors improves visual quality and prepares your model for export.
Use Blender’s Vertex Paint mode to start coloring your model. This method works well for stylized art and quick color tests. It also helps when you need color data for game engines or other 3D software.
Painting Techniques
Choose brushes that suit your style and detail level. Blender offers various brushes like Draw, Soften, and Smear. These brushes help blend colors smoothly or add sharp edges.
Work in small areas and zoom in to paint accurately. Use symmetry options to paint on both sides of the model at once. Adjust brush size and strength to control the paint flow. Layer your colors by painting light shades first and adding darker tones later.
Using Color Palettes
Color palettes keep your vertex painting consistent and organized. Import or create palettes that match your project’s style. Blender allows you to save custom palettes for easy access.
Select colors carefully to avoid clashing or dull results. Use complementary colors to enhance model appeal. Keep the palette limited to maintain a clean and professional look. This step helps speed up your workflow and ensures color harmony.
Optimize Model For Export
Optimizing your Blender model before export ensures better performance and compatibility. It helps keep the file size small and prevents errors during import. Taking time to clean your model improves the final look and functionality in other software. Focus on removing unnecessary data and fixing the geometry for smooth export.
Remove Unused Attributes
Delete any vertex colors, UV maps, or custom data not in use. Extra attributes increase file size and may cause confusion in other programs. Check the vertex color layers and keep only the one needed for your project. Clean up materials that are not assigned to the model. This step simplifies the export and import process.
Clean Up Geometry
Remove duplicate vertices and faces that do not contribute to the shape. Use Blender’s “Merge by Distance” tool to fix overlapping points. Check for non-manifold edges that could cause rendering issues. Keep the mesh topology clean to ensure vertex colors display correctly. Clean geometry helps avoid problems in game engines or renderers.
Credit: blender.stackexchange.com
Export Settings In Blender
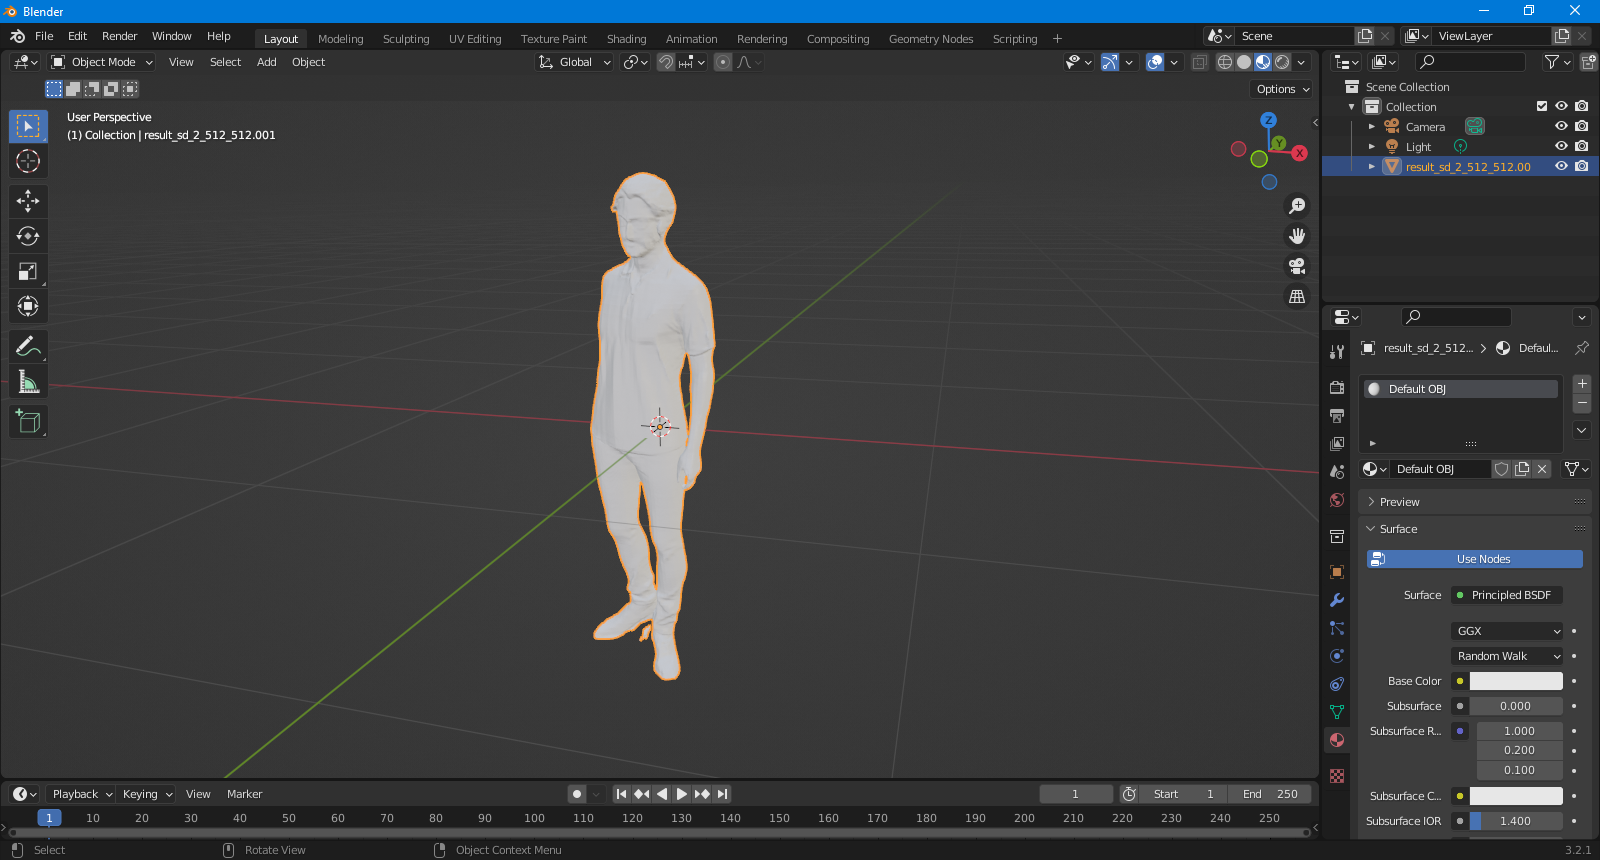
Exporting a Blender model with vertex colors requires careful attention to export settings. These settings ensure that the vertex color information is preserved and correctly transferred to other software. Adjusting the right options in Blender is essential for maintaining the visual details of your model. This section explains how to configure export settings for vertex colors.
Choosing The Right Format
Selecting the correct file format is the first step. Formats like OBJ and FBX support vertex colors, but FBX is often preferred for better compatibility. Make sure your chosen format explicitly supports vertex color data to avoid losing color information during export. Check the format documentation if unsure.
Enable Vertex Color Export
In Blender’s export panel, look for an option to include vertex colors. For FBX export, enable the “Vertex Colors” checkbox. This step is crucial as it tells Blender to export the vertex color data along with the mesh. Without this option enabled, the vertex colors will not appear in the exported file.
Importing Model Into Target Software
Importing a Blender model with vertex colors into another software requires careful handling. The target software must support the model format and preserve vertex color data. This ensures the colors you painted in Blender appear correctly in the new environment.
Many 3D tools have different ways to import models and manage vertex colors. Knowing the right file formats and settings helps avoid common issues. The process is smoother with the correct approach.
Supported Import Formats
Not all file formats carry vertex color data. The most reliable formats include FBX, OBJ with MTL extensions, and glTF. FBX is widely supported and often recommended for transferring vertex colors.
glTF is gaining popularity because it handles vertex colors efficiently and loads fast. OBJ files may need extra care since vertex colors are not always included by default. Always check the export options in Blender to enable vertex colors.
Preserving Vertex Colors
Preserving vertex colors depends on both the export and import settings. Enable vertex color export in Blender before saving the model. This step ensures the color data is embedded in the file.
During import, check that the target software reads vertex colors. Some programs require specific import options or plugins to support them. Verify the model looks correct in the viewport with vertex colors visible after import.
Adjust shaders or materials if vertex colors do not display properly. Sometimes, manual linking of vertex color attributes to shader inputs is necessary. Testing early prevents lost work and color mismatches.
Troubleshoot Common Issues
Troubleshooting is key when importing Blender models with vertex colors. Many users face issues that prevent colors from displaying correctly. Understanding common problems can save time and frustration. This guide covers two frequent issues and how to fix them quickly.
Missing Vertex Colors
Missing vertex colors usually happen during export or import. Check that you exported the model with vertex colors enabled. Some formats, like FBX, require specific settings to keep color data.
In Blender, verify that vertex colors exist on the mesh before export. Also, confirm the import settings in your target software support vertex colors. Sometimes, the software ignores vertex colors if the option is off.
Another cause is incorrect naming of the vertex color layer. Keep the default name or rename it carefully. Mismatched names can cause the colors to disappear.
Color Distortion Problems
Color distortion occurs when vertex colors look faded or strange after import. This often results from color space issues. Make sure your software uses the correct color space for vertex colors, usually sRGB.
Check the shading or material settings. Some render engines modify vertex colors with lighting or textures. Disable these effects to see the pure vertex colors.
Low vertex density can cause color blending between vertices. Increase mesh resolution or use texture maps for better color detail if needed.
Use Vertex Colors In Shaders
Using vertex colors in shaders enhances your 3D model’s visual quality. Vertex colors store color data directly on the model’s vertices. This allows for detailed color effects without extra textures. Shaders can read this data to create unique looks. Below are simple steps to use vertex colors effectively in shaders.
Basic Shader Setup
Start by creating a new material in your 3D software or game engine. Add a vertex color node or input in your shader editor. Connect this node to the base color or diffuse input of your shader. This setup applies vertex colors to your model’s surface. Adjust lighting and material settings to see the vertex colors clearly. This method is fast and uses less memory than textures.
Advanced Color Effects
Combine vertex colors with other shader inputs for rich effects. Use vertex colors to blend between different textures smoothly. Animate vertex colors to create dynamic color shifts. Multiply vertex colors by lighting or shadow maps for realistic shading. Create masks using vertex colors to control effects like dirt or rust. These techniques add depth and realism to your models without heavy textures.
Transfer Vertex Colors Between Meshes
Transferring vertex colors between meshes in Blender helps maintain consistent color data across models. This process is useful when working with multiple mesh versions or different parts of a character. It allows you to reuse vertex paint without repainting each mesh. There are several ways to transfer these colors, depending on your project needs and skill level.
Using Texture Transfer Tools
Texture transfer tools in Blender automate the process of copying vertex colors. They work by projecting the color data from one mesh onto another. Start by selecting the source mesh with the vertex colors you want to copy. Then select the target mesh. Use Blender’s texture transfer options found under the filters menu.
This method is fast and keeps the details accurate. It works best when the meshes have similar shapes and vertex counts. The tools blend colors smoothly, reducing the need for manual fixes later.
Manual Color Copying
Manual color copying involves selecting vertices and assigning colors one by one. This method is slower but gives full control over the final look. You can use the vertex paint mode to pick colors from one mesh and apply them to another.
Start by entering vertex paint mode on the source mesh. Use the eyedropper tool to sample colors. Then, switch to the target mesh and paint the colors manually on corresponding vertices. This method works well for small models or when you want precise color placement.
Integrate With Game Engines
Integrating Blender models with vertex colors into game engines enhances visual quality without heavy textures. Game engines like Unity and Unreal Engine support vertex colors differently. Understanding these methods ensures your models look consistent and vibrant in your game projects. This section explains how to import and use vertex colors effectively in popular engines.
Unity Vertex Color Import
Unity supports vertex colors natively in its standard shaders. Export your Blender model as an FBX file with vertex colors enabled. Import the FBX into Unity and assign a material that uses a shader supporting vertex colors.
Unity’s Standard Shader does not show vertex colors by default. Use a custom shader or a vertex color shader from the Unity Asset Store. This shader reads the vertex color data and displays it on your model. Adjust lighting and settings to enhance the effect.
Remember to check the import settings in Unity. Enable “Import Vertex Colors” in the model’s import options. This step is crucial to retain the colors painted in Blender.
Unreal Engine Vertex Color Use
Unreal Engine also supports vertex colors well. Export your Blender model as an FBX with vertex colors included. Import the FBX into Unreal Engine and verify the vertex colors appear in the mesh viewer.
In Unreal Engine, create a material that uses the vertex color node. Connect this node to the base color input of your material. This connection displays the vertex colors on your model in the game.
You can combine vertex colors with textures or other material effects. Unreal Engine allows flexible material setups to enhance your model’s appearance using vertex colors.
Tips For Efficient Workflow
Optimizing your workflow when importing Blender models with vertex colors saves time and reduces errors. Efficient steps make complex tasks manageable and keep your projects organized. Focused techniques help maintain color integrity and speed up the import process.
Batch Export Techniques
Exporting multiple models at once speeds up your workflow. Use Blender’s batch export scripts or add-ons to automate this process. Naming conventions matter; keep file names clear and consistent. This avoids confusion during import. Export models in the same format to ensure compatibility. Check that vertex colors export correctly by testing a few models first. Group similar models together to simplify batch operations. Keep backups of your exported files to prevent data loss.
Managing Color Data
Vertex colors must be properly assigned in Blender before export. Use the Color Attribute panel to check color data. Remove unused or duplicate color layers to avoid conflicts. Adjust color spaces if your target software requires it. Keep vertex colors simple and avoid excessive layers. Verify colors appear correctly in your target application after import. Use tools that convert vertex colors to textures if needed. Consistent color management prevents unexpected results.
Frequently Asked Questions
How Do I Import Fbx With Vertex Color In Blender?
To import FBX with vertex colors in Blender, enable “Vertex Colors” in the import settings. Then, check the mesh’s vertex color data in the Shader Editor using an Attribute node named after the vertex color layer.
How To Get Vertex Color In Blender?
To get vertex color in Blender, enter Vertex Paint mode, select your mesh, and paint directly on vertices. Access colors via the Object Data Properties tab under Vertex Colors.
How To Transfer Vertex Paint Data?
Select the source mesh with vertex paint. Choose the target mesh components. Use the Mesh Paint panel’s “Texture Color” method and click “From Vertex” to transfer data. A new texture is created if none exists.
How To Import Color Palette In Blender?
To import a color palette in Blender, save the palette file on your computer. In Blender, open the Texture Paint workspace, then go to the Palette panel. Click the import icon and select your saved palette file to load it into Blender.
How Do I Import A Blender Model With Vertex Colors?
Export the model in a format that supports vertex colors like FBX, then import it into your target software.
Which File Formats Keep Vertex Colors When Importing Blender Models?
FBX and OBJ formats often support vertex colors, but FBX is more reliable for preserving them.
How To Check Vertex Colors In Blender Before Export?
Switch to Vertex Paint mode in Blender to view and edit vertex colors on your model.
Can Vertex Colors Be Used Directly In Game Engines?
Yes, many game engines like Unity and Unreal Engine support vertex colors for shading.
What Causes Vertex Colors To Disappear After Import?
Using unsupported file formats or wrong export settings can cause vertex colors to be lost.
How To Export Vertex Colors From Blender Correctly?
Enable “Vertex Colors” option in the export settings when saving your model as FBX or OBJ.
Conclusion
Importing a Blender model with vertex colors is simpler than it seems. Follow the right steps to keep your colors intact. Check your export settings and file formats carefully. Test the model in your target software to ensure colors show correctly.
Practice this process to gain confidence and avoid common mistakes. This skill helps add detail and realism to 3D models. Keep experimenting with vertex colors to improve your projects. Small efforts lead to better results in 3D workflows.