Most silicone caulk cannot be painted without special primer or paint formulated for silicone.
I’ve worked on dozens of home projects and guided pros and DIYers through sealing and finishing. This article answers, with practical tips and tested steps, whether Can You Paint Silicone Caulk, when it works, and how to get paint to stick if you must. Read on for clear, experience-based guidance and step-by-step instructions.
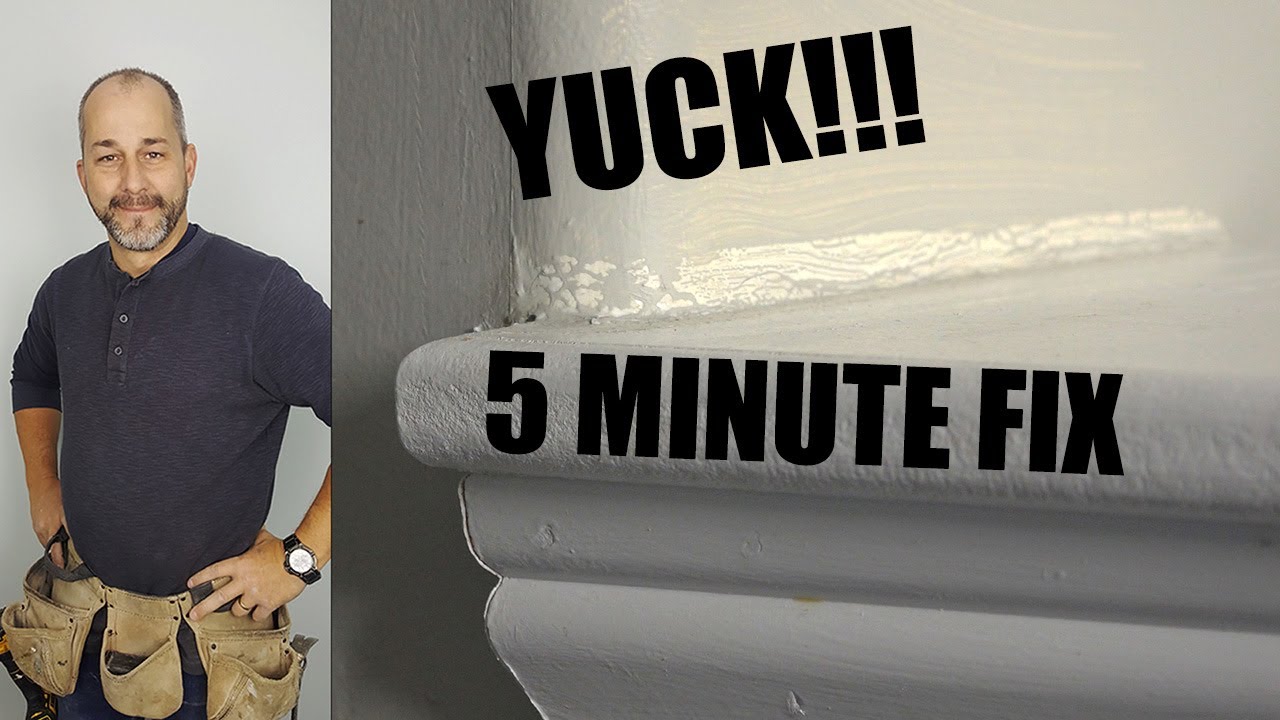
Can You Paint Silicone Caulk? Short answer and exceptions
Most standard silicone caulk resists paint. That’s because cured silicone has a slick, rubbery surface that common paints cannot bond to. However, there are exceptions and proven workarounds when you need colored joints or a finished look.
Key exceptions and options include:
- Use of paintable silicone or hybrid sealants that manufacturers label as paintable.
- Applying a primer made for low-energy surfaces or a specialty adhesion promoter.
- Using specialty paints formulated to stick to silicone.
In practice, asking "Can You Paint Silicone Caulk" means checking the product label and testing a small area first. If the caulk is 100% silicone and not labeled paintable, plan for alternative solutions.

Why painting silicone caulk is tricky
Silicone cures into a nonporous, flexible surface. Paint adheres to porous or slightly rough surfaces. Silicone is neither. That causes adhesion failure. Paint often peels, cracks, or flakes off silicone within weeks.
Other reasons painting silicone caulk is difficult:
- Additives in silicone can repel paint.
- The flexible movement of joints stresses paint coatings.
- Bathroom and kitchen environments expose the surface to moisture and cleaners.
From experience, most failed jobs come from skipping testing and using ordinary latex paint on regular silicone. Knowing this prevents wasted time and money.
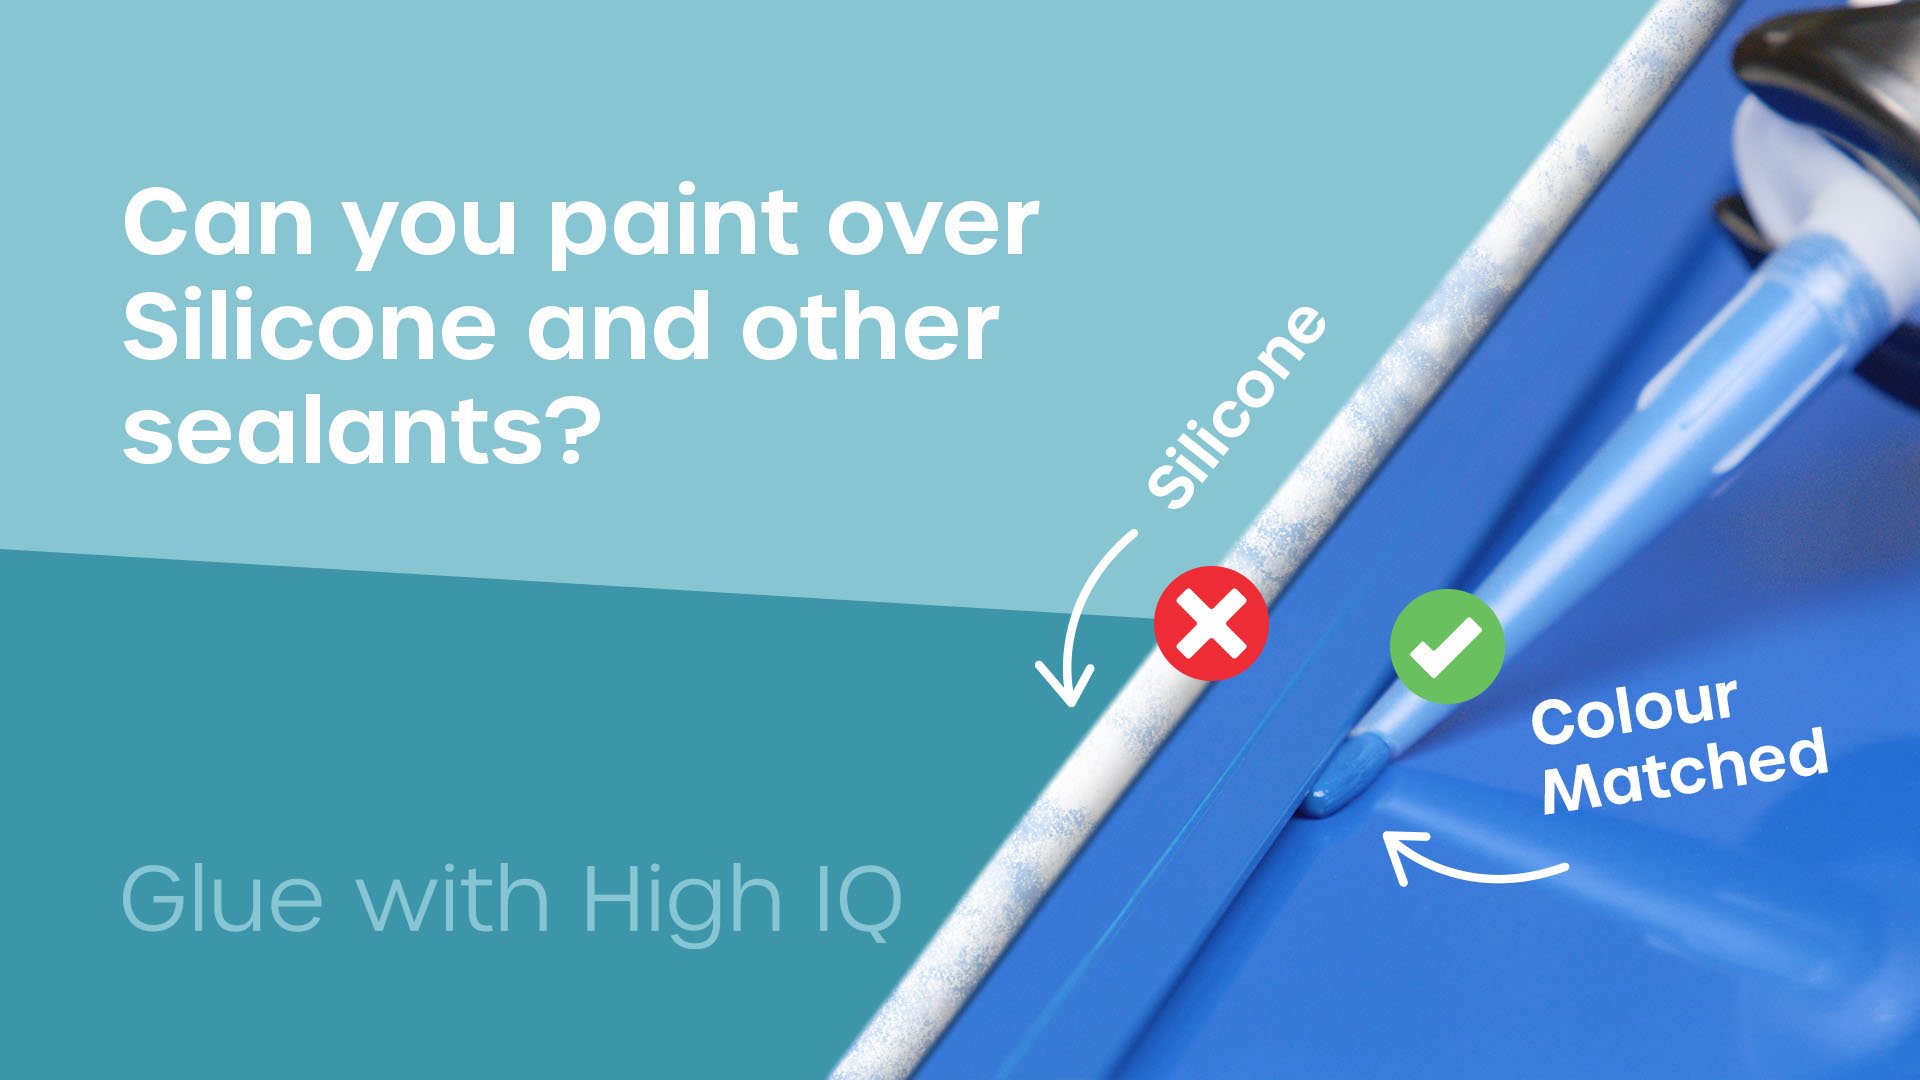
When Can You Paint Silicone Caulk
There are safe scenarios when you can paint silicone caulk. Know them before you begin.
Situations that may work:
- The caulk is labeled paintable. Some silicones and silicone blends are formulated to accept paint.
- The silicone is a hybrid (silane-modified polymers) with better paint adhesion.
- You use a specialty adhesion primer and a paint system designed for flexible surfaces.
When not to paint:
- If the caulk is plain 100% silicone with no paintable label.
- If the joint moves a lot and you expect the paint to crack.
- If you need a long-term, maintenance-free finish in wet areas without testing.

Source: youtube.com

How to paint silicone caulk — step-by-step
If you decide to try painting, follow steps that I’ve used on several small projects. These steps cut the risk of failure.
- Check the product
- Confirm the caulk type. If packaging says "paintable," you’re in a better place.
- Clean the area
- Remove soap film, mildew, dust, and oils. Use a mild detergent or rubbing alcohol. Let fully dry.
- Lightly abrade the surface
- Sand with fine-grit paper or use a scuff pad. Don’t overdo it. The goal is to create slight tooth.
- Test a primer
- Apply a small patch of adhesion primer or a silicone primer per product instructions. Wait for full cure.
- Test paint compatibility
- Paint a small area after the primer cures. Monitor for 24–72 hours.
- Full application
* If the test passes, apply primer to the full bead, let cure, then paint with a flexible topcoat.
Tips from experience:
- Allow proper cure time for both caulk and primer. Skipping cure time causes failure.
- Work in stable temperatures and low humidity for best results.

Source: reddit.com

Best paints and primers to use
Choosing the right products matters. Here are reliable categories and why they work.
Primers and adhesion promoters
- Silicone-specific primers or adhesion promoters bond to low-energy surfaces.
- Universal primers for "difficult to stick" surfaces can sometimes help.
Topcoats and paints
- Flexible acrylic-latex paints are commonly used after a suitable primer.
- Specialty elastomeric paints offer stretch and return, reducing cracking.
- Do not use standard oil-based paint alone on silicone; it usually fails.
Product pairing matters. Read manufacturer instructions and follow recommended cure times. I once had success using a silicone primer with a flexible acrylic enamel on a trim project; the finish lasted over a year with minimal flaking.

Alternatives to painting silicone caulk
If painting seems risky, consider alternatives that achieve a finished look without the adhesion hassle.
Alternatives include:
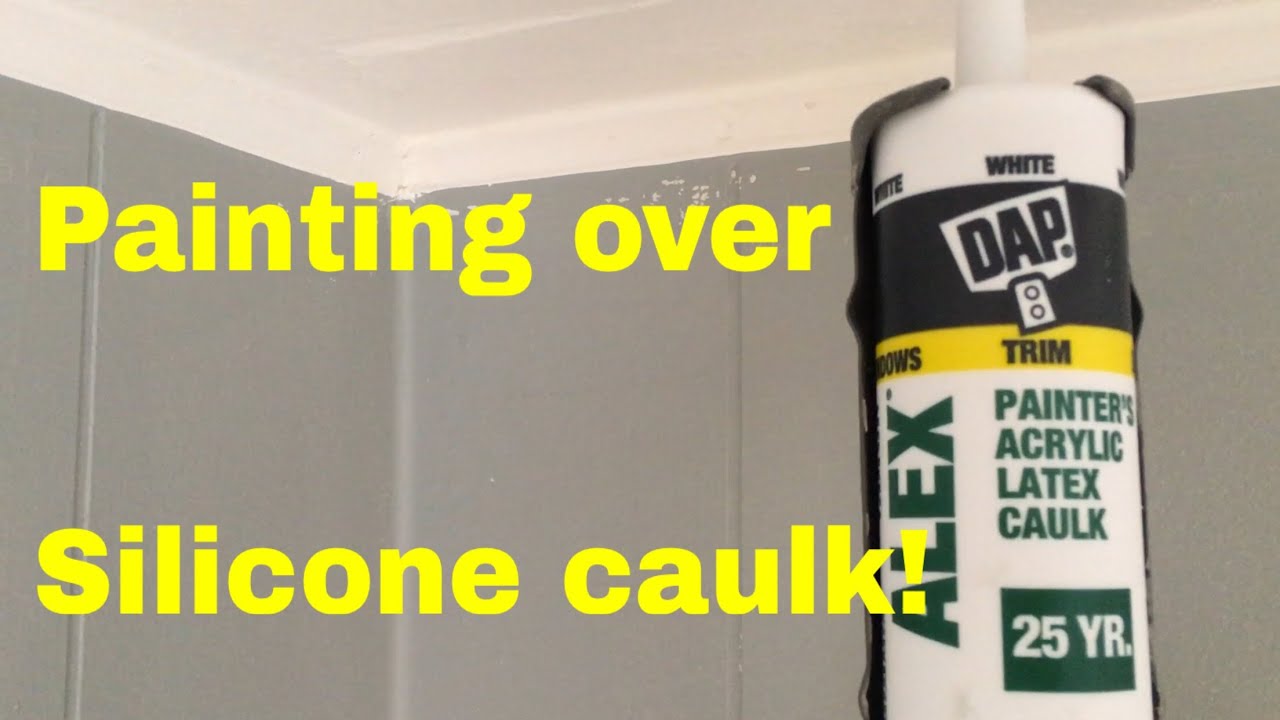
- Use paintable acrylic (latex) caulk instead of silicone where painting is required.
- Replace the bead with a paintable polyurethane or hybrid sealant.
- Mask and paint around the bead, keeping the silicone its natural color.
- Use colored silicone available in limited shades for a closer match.
Choosing the right material at install time saves rework. On remodeling jobs, I often recommend swapping to a paintable caulk to avoid future headaches.
Common problems and troubleshooting
Even with good prep, issues can arise. Here’s how to diagnose and fix them.
Peeling paint
- Likely cause: poor adhesion or incorrect primer. Fix: remove loose paint, re-abrade, use an adhesion promoter, retest.
Cracking or flaking
- Likely cause: joint movement beyond the paint’s stretch; use a more flexible topcoat or a different sealant.
Discoloration or milky film
- Likely cause: moisture trapped during cure. Fix: ensure full cure and dry conditions before painting.
Staining after cleaning
- Likely cause: cleaner residue. Fix: rinse well and allow longer drying time before priming.
A quick test patch and patience with cure times prevent most of these problems.
Maintenance and longevity
Paint over silicone will need more care than painted walls or trim.
Maintenance tips:
- Inspect joints periodically for peeling or cracking.
- Avoid aggressive cleaners on painted silicone.
- Touch up small failures promptly to stop spread.
Expect shorter lifespan than painted wood or metal. If durability matters, choose paintable caulk or a different sealant. My projects that used tested primer and flexible paint held up well for several years, but heavy-use areas needed touch-ups sooner.
Personal experience, lessons learned, and practical tips
I’ve painted over caulk in kitchens and on trim. Early on I tried painting standard silicone. It failed within weeks. That failure taught me three rules:
- Test first on a small area.
- Use products designed for low-energy surfaces.
- When possible, choose a paintable caulk at install time.
Practical tips I share with homeowners:
- Keep a small sealed container of the caulk label or leftover product. It helps match replacements.
- Document cure times and temperature during the job. It helps if you must troubleshoot later.
- When in doubt, replace the bead with paintable caulk rather than trying to force paint onto silicone.
Cost and time considerations
Painting silicone caulk can add time and expense. Factor these into your project plan.
Typical costs and time:
- Adhesion primer: low to moderate cost; adds several hours to cure.
- Specialty paints: slightly higher cost than standard latex.
- Replacement with paintable caulk: material cost similar; labor higher if removal is needed.
Weigh these against the value of a durable finish. Often, replacing the bead with a paintable product is the best long-term investment.
Environmental and safety notes
Follow safety best practices when working with caulk, primers, and paints.
Safety tips:
- Work in a well-ventilated area.
- Wear gloves and eye protection when using solvents or primers.
- Dispose of rags and waste per local guidelines to avoid fire risk.
Also, check VOC levels if indoor air quality is a concern. Low-VOC products are safer for living spaces.
Frequently Asked Questions of Can You Paint Silicone Caulk
Can You Paint Silicone Caulk with regular latex paint?
Regular latex paint usually will not stick to cured silicone. You need either a paintable silicone, a special primer, or a specialized paint system for success.
How long should silicone caulk cure before painting?
Allow at least 24 to 72 hours for cure, depending on product instructions. Some silicones require up to a week for full cure before painting.
Is there a primer that makes silicone paintable?
Yes, there are adhesion promoters and primers formulated for low-energy surfaces that improve paint adhesion. Test in a small area first.
Can I replace silicone with paintable caulk without removing old bead?
For best results, remove the old silicone and clean the joint before applying paintable caulk. Painting over old silicone is less reliable.
Will painted silicone crack when the joint moves?
Paint can crack if the joint experiences significant movement. Use flexible primers and paints or choose a more elastic caulk to reduce cracking.
Conclusion
Painting silicone caulk is possible but often tricky. The safest approach is to use paintable caulk or a compatible primer and flexible paint. Test on a small area. Follow cure times and manufacturer guidance. My practical advice: choose the right material at install time, or plan for primer and testing if painting is necessary.
Take action now: inspect your caulk type, run a small adhesion test, or swap to a paintable sealant when you next re-caulk. Share your results or questions below, and subscribe for more practical DIY tips.