
Using a paint sprayer can transform your painting projects. It offers speed and a smooth finish that brushes and rollers may struggle to achieve.
Many people want to know how to use a paint sprayer effectively. This tool can help you cover large areas quickly, making it perfect for walls, fences, or furniture. Understanding the basics of a paint sprayer can save time and effort.
You’ll learn how to prepare your space, choose the right paint, and set up the sprayer properly. Proper technique is key to avoiding messes and getting even coverage. Whether you are a beginner or have some experience, this guide will help you paint with confidence and ease. Let’s dive into the steps for using a paint sprayer.
Choosing The Right Paint Sprayer
Selecting the right paint sprayer is crucial for achieving a smooth finish. Understand different types of sprayers to find one that suits your project. Proper setup and technique will ensure even coverage and easy cleanup.
Choosing the right paint sprayer can make all the difference in your painting project. With various types available, picking the one that fits your needs is essential. Whether you’re painting a room, a piece of furniture, or an entire house, the right sprayer will help you achieve a flawless finish quickly and efficiently.Types Of Paint Sprayers
There are several types of paint sprayers, each designed for specific tasks. Here’s a quick overview:- Airless Paint Sprayers: These sprayers use high pressure to atomize paint. They are great for large areas and can handle thicker paints.
- HVLP Sprayers (High Volume Low Pressure): These are perfect for detailed work. They produce less overspray, making them ideal for furniture and smaller projects.
- Compressed Air Sprayers: Commonly used for automotive painting, they provide a smooth finish but require more skill to operate effectively.
- Gravity Feed Sprayers: These are typically used for fine work and offer excellent control over paint application.
Selecting The Appropriate Model
When selecting a paint sprayer, consider the scale of your project. Do you need to cover a large wall or just touch up some furniture?Evaluate your experience level, too. If you’re a beginner, an HVLP sprayer might be more manageable.Look for models that offer adjustable settings. This feature lets you control the paint flow and spray pattern, giving you more flexibility during application.Don’t forget to check reviews and compare brands. A well-rated model can save you time and frustration.Finally, ask yourself: What type of finish do you want? A smooth, professional look often requires a sprayer with higher quality features.Choosing the right paint sprayer can elevate your project and ensure a beautiful finish every time. Are you ready to make your painting experience more enjoyable?Gathering Materials And Safety Gear
Before using a paint sprayer, gather the right materials. Proper preparation makes the job easier and safer. You need supplies to ensure a smooth painting experience. Safety gear protects you from paint and fumes. Let’s look at what you need.
Essential Supplies
Start with the paint sprayer itself. Choose one based on your project size. You will also need paint. Select the right type for your surface. Have a paint thinner on hand if necessary.
Next, grab a drop cloth. It protects your floors and furniture. A painter’s tape will help cover edges and corners. This ensures clean lines. A paint tray is useful for small jobs. It holds the paint easily.
Keep brushes and rollers handy. They can assist in touch-ups. A bucket for cleaning is also important. You may need it after you finish painting.
Protective Equipment
Always wear a mask. It protects your lungs from fumes. Safety goggles are essential too. They shield your eyes from splatters. Wear gloves to protect your hands. They keep paint from sticking to your skin.
Long sleeves and pants are a good idea. They help prevent paint from getting on your skin. Non-slip shoes can keep you steady. They reduce the risk of slipping on wet surfaces.
Finally, ensure good ventilation. Open windows and doors during the job. This helps air out fumes. A fan can improve airflow. Take these steps for a safe and enjoyable painting experience.
Preparing The Paint For Spraying
Preparing your paint correctly is crucial for a smooth finish. Proper preparation ensures your paint sprayer works efficiently. It helps achieve an even coat on your surface. Follow these steps to prepare your paint for spraying.
Testing Paint Consistency
Before you start spraying, test the paint consistency. Dip a stir stick into the paint. Lift it out and observe how the paint flows off. Paint should flow smoothly and evenly. If it drips or clumps, it needs thinning.
A good test is to pour a small amount into a cup. Let it sit for a minute. Then, check the thickness. It should not be too thick or too runny. Aim for a consistency similar to heavy cream.
Thinning Paint Appropriately
If your paint is too thick, it needs thinning. Use a paint thinner or water, depending on the type of paint. Always follow the manufacturer’s instructions for thinning ratios. A common rule is to start with a 10% thinner ratio.
Mix the thinner into the paint well. Stir thoroughly to avoid lumps. Always test the paint again after thinning. This ensures the right consistency for spraying. Adjust as necessary until you reach the desired flow.
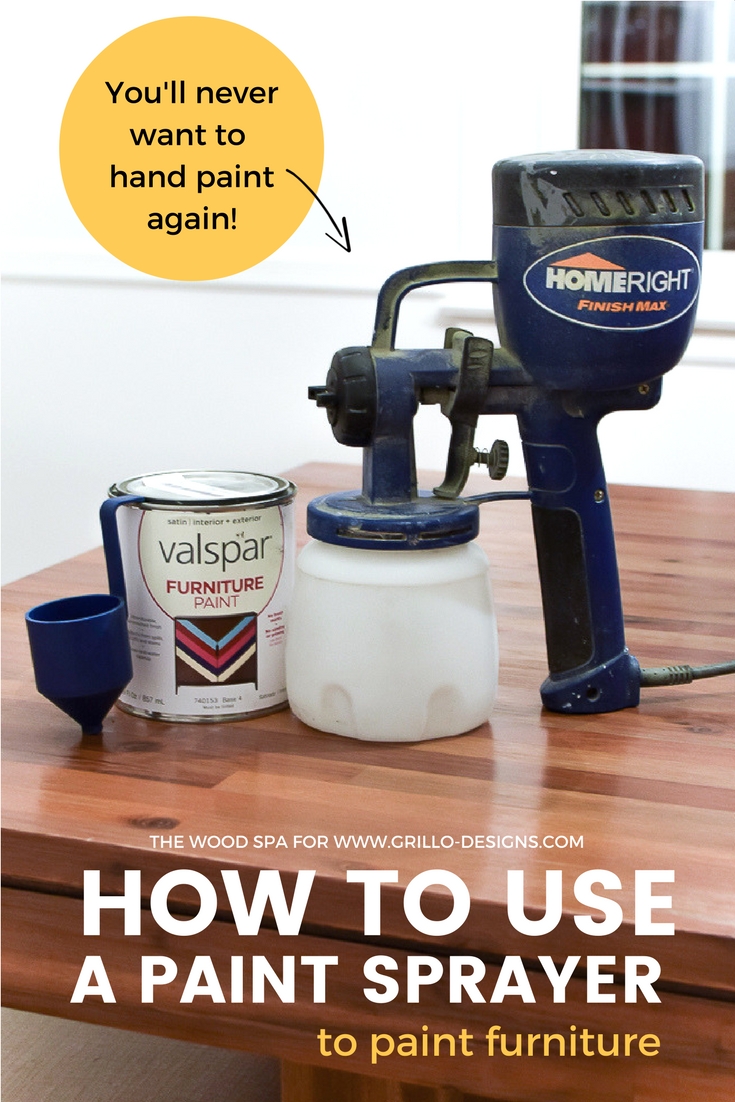
Credit: grillo-designs.com
Setting Up Your Workspace
Creating an effective workspace is crucial for using a paint sprayer. Start by selecting a well-ventilated area and covering surfaces to protect from overspray. Gather all necessary tools and materials nearby for easy access during your project. This setup ensures a smoother and more enjoyable painting experience.
Setting up your workspace is a crucial step before diving into the fun of using a paint sprayer. A well-prepared area not only ensures a smoother painting process but also enhances safety and protects your belongings. Here’s how to create an ideal environment for your project.Covering And Protecting Surfaces
Start by covering floors, furniture, and any other items in your workspace. Use drop cloths or old sheets to catch any stray paint droplets.Consider using painter’s tape to protect edges and corners where you don’t want paint to go.I once painted my living room without properly covering the carpet. The result? A few unexpected splatters that took hours to clean! Save yourself the hassle by preparing your surfaces effectively.Make sure to protect windows and door frames as well. A little extra effort here can save you from tedious touch-ups later.Ventilation And Lighting
Good ventilation is essential when using a paint sprayer. Open windows and doors to allow fresh air to circulate, and consider using fans to help with airflow.Bright lighting is equally important. You want to see the details of your work clearly. If natural light is limited, invest in some additional work lights.Have you ever tried painting in dim light? It’s tricky! You may miss spots or apply uneven coats. Ensure your workspace is well-lit to achieve the best results.By setting up your workspace with these tips, you’ll create an efficient and enjoyable painting experience. Are you ready to start your next painting project?Assembling The Paint Sprayer
Assembling a paint sprayer is a straightforward process. Start by connecting the hose to the sprayer and the paint container. Ensure all parts are secure before adding paint and priming the pump for a smooth spray experience.
Assembling your paint sprayer is a crucial step that sets the stage for a successful painting project. A well-assembled sprayer not only enhances your painting efficiency but also ensures a smooth finish. Here’s how to get started with the assembly process, focusing on the key components you need to connect and the importance of understanding spray patterns.Attaching Components
Start by gathering all the parts of your paint sprayer. This typically includes the spray gun, hose, and nozzle.– Connect the hose: Screw one end of the hose onto the sprayer and the other to the spray gun. Ensure both connections are tight to prevent any leaks.– Attach the nozzle: The nozzle is essential for controlling the spray pattern. Simply twist it onto the front of the spray gun until snug.– Check the filter: If your sprayer has a filter, make sure it’s properly installed. A clean filter helps prevent clogs during your project.Remember, taking your time to securely attach each component will save you headaches later on. Have you ever been in the middle of a project only to realize something wasn’t connected properly?Understanding Spray Patterns
Getting familiar with spray patterns is essential for achieving the best results. The nozzle you selected will determine the width and type of spray.– Narrow spray: Ideal for detailed work like trim or corners.– Wide spray: Perfect for covering large areas quickly.Adjusting the spray pattern is usually as easy as twisting the nozzle.You might want to practice on a piece of cardboard before tackling your actual project. This will help you understand how the paint flows and how far to hold the sprayer from the surface.Consider your project: Are you aiming for precision or speed? Knowing this can guide your choice of spray pattern and nozzle.As you assemble your paint sprayer, remember that each component plays a vital role in the overall performance. The right setup can transform your painting experience. What will you be painting next?
Credit: m.youtube.com
Priming The Paint Sprayer
Priming your paint sprayer is a crucial step. It prepares the sprayer for use. Proper priming ensures smooth paint flow. This helps achieve an even finish on your project.
Filling The Pump
Start by selecting the right paint. Use a paint that suits your sprayer type. Open the paint can and stir well. Pour the paint into the sprayer’s pump.
Make sure to fill the pump correctly. Avoid overfilling to prevent spills. Secure the lid tightly to avoid leaks. Check for any clogs in the nozzle before proceeding.
Cycling The Paint
Now, it’s time to cycle the paint. Turn on the sprayer and let it run. This process pushes paint through the system. Watch for any air bubbles in the paint.
Continue cycling until the paint flows steadily. This indicates that the sprayer is primed. You are now ready to start painting. Enjoy your smooth and even application!
Mastering The Spraying Technique
Learn the basics of using a paint sprayer effectively. This guide covers preparation, setup, and spraying techniques for a smooth finish. Mastering these steps ensures great results for your painting projects.
Mastering the spraying technique is essential for achieving a flawless finish when using a paint sprayer. Whether you’re tackling a small project or an entire room, the right technique can make all the difference. This section will guide you through two critical aspects: how to handle your spray gun effectively and how to achieve even coverage.Spray Gun Handling
Proper handling of your spray gun is vital for control and precision. Start by holding the gun with a firm grip, ensuring your fingers are positioned comfortably on the trigger.Maintain a consistent distance from the surface, typically around 12 to 18 inches. This distance prevents drips and ensures an even application.Consider using both hands for better stability. One hand can control the trigger while the other supports the weight of the gun, allowing for smoother movements.Achieving Even Coverage
Even coverage is the key to a professional-looking finish. Move the spray gun in a steady, sweeping motion. Avoid lingering in one spot, as this can lead to drips.Overlap your strokes by about 50% to ensure no spots are missed. A consistent pace helps maintain an even coat across the entire surface.Don’t hesitate to practice on scrap material before tackling your main project. This will build your confidence and help you perfect your technique.How have your previous painting experiences influenced your approach to using a paint sprayer? Embrace the learning process, and soon you’ll master the art of spraying!Cleaning And Maintenance
Cleaning and maintaining your paint sprayer is crucial. Proper care ensures longevity and consistent performance. A clean sprayer helps avoid clogs and uneven spraying. Let’s dive into effective cleaning and maintenance practices.
Post-use Cleaning
Cleaning your paint sprayer right after use is essential. Start by emptying the paint container. Use a clean solvent or water, depending on the paint type. Fill the container with the solvent. Turn on the sprayer and run it until the liquid runs clear.
Next, clean the spray tip. Remove it carefully and soak it in solvent. Use a small brush to scrub away any paint residue. Don’t forget to clean the filters as well. Rinse them under warm water until they are free of paint.
Finally, disassemble any removable parts. Wipe them with a cloth soaked in solvent. This helps remove any remaining paint. Store your sprayer in a dry place to prevent rust.
Regular Maintenance Tips
Regular maintenance keeps your sprayer in top shape. Check the hoses and connections for any wear or damage. Replace them if needed to prevent leaks.
Inspect the pump regularly. Look for signs of wear or corrosion. Lubricate moving parts according to the manufacturer’s instructions.
Store your paint sprayer properly. Avoid extreme temperatures that can damage components. Keep it clean and dry for the next use.
Following these cleaning and maintenance tips will extend your paint sprayer’s life. Enjoy smooth and efficient painting projects.
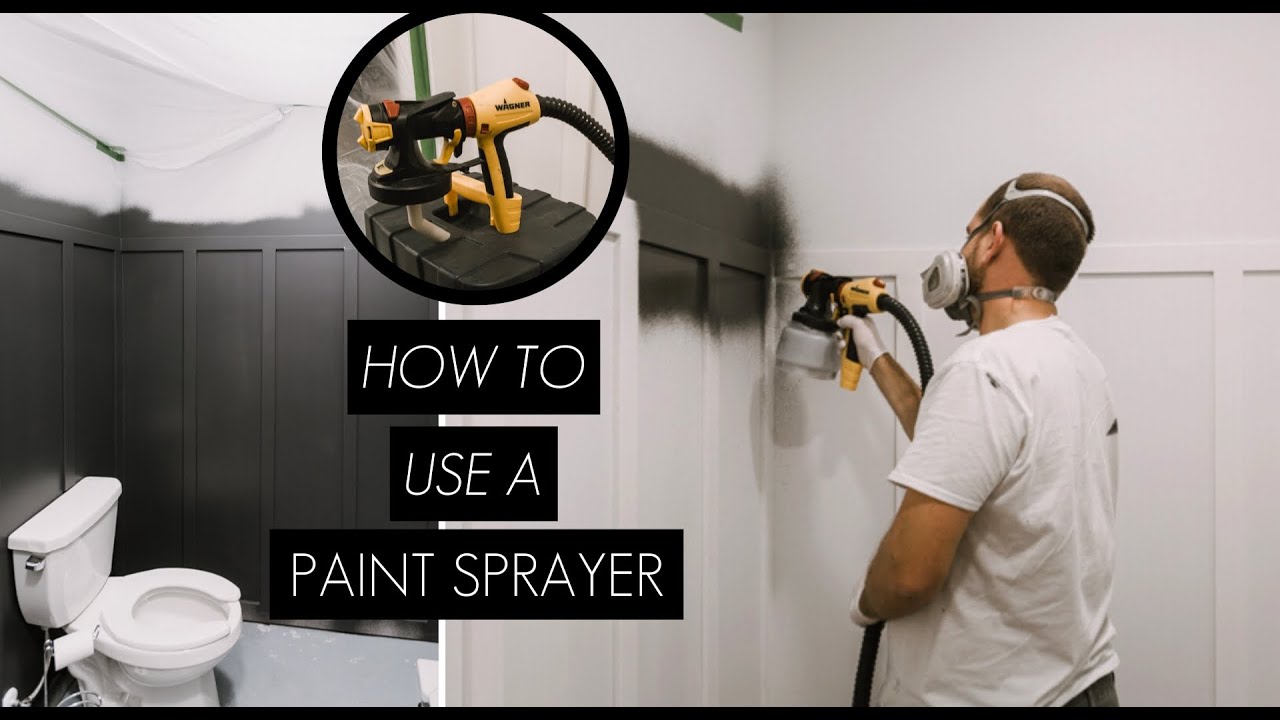
Credit: www.youtube.com
Frequently Asked Questions
Can A Beginner Use A Paint Sprayer?
Yes, beginners can use a paint sprayer. It’s user-friendly and offers a smooth finish. Proper preparation and practice enhance results. Start with small projects to build confidence. Always follow the manufacturer’s instructions for best practices and safety guidelines.
Do You Have To Thin Paint For A Sprayer?
Yes, you often need to thin paint for a sprayer, especially HVLP models. Thinning helps achieve a smooth, even spray and prevents clogging. Use water for latex paints and mineral spirits for oil-based paints. Always test the consistency before spraying to ensure optimal results.
Do You Add Water To Paint When Using A Paint Sprayer?
Yes, you may need to add water to latex paint for a paint sprayer. Thinning helps achieve a smoother spray and prevents clogging. Always check the manufacturer’s guidelines for specific thinning recommendations. For oil-based paints, use mineral spirits instead of water.
How Do You Spray Paint For Beginners?
To spray paint as a beginner, start by choosing a well-ventilated area. Prepare the surface and gather your materials. Shake the paint can thoroughly and test the sprayer on cardboard. Hold the sprayer 6-12 inches from the surface, moving in even strokes.
Clean the sprayer after use for best results.
Conclusion
Using a paint sprayer can transform your projects. It saves time and delivers a smooth finish. Remember to practice on scrap material first. This helps you gain confidence and control. Always wear protective gear and follow safety tips. Clean your sprayer properly after each use to ensure it lasts.
With these steps, you can achieve great results. Enjoy the process and see your creativity shine. Happy painting!