Want to learn how to paint look pivots? Start by understanding the basics of painting techniques.
Painting look pivots can enhance your home’s aesthetics. It might seem tricky, but with the right steps, anyone can do it. This guide will help you achieve a professional finish. You will learn about the materials needed, preparation steps, and painting techniques.
Whether you are a beginner or have some experience, this guide will make the process easy to follow. By the end, your look pivots will be transformed, giving your space a fresh and appealing look. So, let’s dive into the world of painting and make your pivots stand out.

Credit: www.reddit.com
Preparing The Surface
Painting look pivots can be a rewarding project. The first step is preparing the surface. A well-prepared surface ensures the paint adheres properly and lasts longer. Let’s dive into the key steps.
Cleaning The Area
Start by cleaning the area. Remove any dust, dirt, or grime. Use a damp cloth or a mild detergent solution. Wipe the surface thoroughly. Let it dry completely before moving to the next step.
Sanding For Smoothness
Next, sand the surface. Use fine-grit sandpaper for this task. Sand in a circular motion. This helps to smooth out any rough spots. After sanding, wipe away any dust with a clean cloth. This ensures the paint will adhere well.
Choosing The Right Paint
Choosing the right paint is crucial for achieving a perfect finish. It’s important to understand the types of paint available and how they affect the final look. This guide will help you make an informed decision.
Types Of Paint
There are several types of paint to consider. Latex paint is water-based and easy to clean. It’s a popular choice for beginners. Oil-based paint provides a smooth finish but takes longer to dry. It’s ideal for areas that need a durable coat.
Acrylic paint is versatile and fast-drying. It’s great for both indoor and outdoor use. Chalk paint offers a matte finish and is easy to distress. It’s perfect for a vintage look. Each type has its pros and cons, so choose based on your project needs.
Selecting The Finish
The finish of the paint affects the look and feel of the project. Flat or matte finishes offer a smooth, non-reflective look. They’re good for hiding imperfections on walls.
Eggshell and satin finishes provide a slight sheen. They are easier to clean and more durable than flat finishes. Semi-gloss and gloss finishes are highly reflective. They are perfect for trim, doors, and cabinets. These finishes are very durable and easy to clean.
Consider the room’s lighting and usage when selecting a finish. A higher sheen can make a space feel brighter. A matte finish creates a cozy and subdued atmosphere.
Essential Tools And Materials
When painting look pivots, having the right tools and materials makes a big difference. These essentials help you achieve a smooth, professional finish. You’ll need specific brushes, rollers, and protective gear to get started.
Brushes And Rollers
Choose high-quality brushes for detailed work. Look for ones with synthetic bristles. They hold paint well and give a smooth finish. Use different sizes for various parts of the pivot.
For larger areas, use foam rollers. They provide an even coat and reduce streaks. Ensure your rollers have a good grip. This helps control your strokes.
Protective Gear
Wear protective gear to stay safe. Use gloves to protect your hands from paint and chemicals. Choose ones that fit well and are comfortable. They should allow you to move freely.
Wear safety goggles to keep paint out of your eyes. Always use a mask to avoid inhaling fumes. A simple dust mask works well for most projects. For stronger chemicals, use a respirator.
Cover your clothes with an old shirt or apron. This keeps your clothes clean and free from paint stains. Use drop cloths to protect the floor and nearby surfaces. Secure them well to avoid trips and spills.
Priming The Surface
Priming the surface is a crucial step in painting. It ensures the paint adheres well and lasts longer. Without a primer, the paint might peel or chip. Let’s explore the importance of primer and how to apply it correctly.
Importance Of Primer
Primer prepares the surface for painting. It creates a smooth base for the paint. This helps the paint stick better. A good primer can block stains and cover dark colors. It also prevents moisture from seeping through the paint. This is especially important for surfaces exposed to humidity.
Application Techniques
Proper application of primer is essential. Here are some steps to follow:
- Clean the surface: Remove dust, dirt, and grease.
- Sand the surface: This helps the primer adhere better.
- Choose the right primer: Different surfaces need different primers.
- Apply the primer: Use a brush, roller, or spray. Apply evenly.
- Let it dry: Wait for the primer to dry completely. This might take a few hours.
- Sand again: Lightly sand the surface for a smoother finish.
Using the right techniques ensures a perfect finish. Take your time and follow these steps carefully.
Mastering Brush Techniques
Painting can be relaxing and fun. But mastering brush techniques can make a big difference. This section will guide you on using your brush effectively. Let’s dive into the details.
Proper Brush Strokes
Using the right brush strokes is key. Here are some tips:
- Hold the brush at a slight angle.
- Apply even pressure.
- Use long, smooth strokes for large areas.
- Short, controlled strokes work best for detail.
Keep your wrist relaxed. This helps maintain control. Practice these strokes on a scrap piece first.
Edge And Corner Tips
Edges and corners can be tricky. Follow these steps for clean lines:
- Use a smaller brush for precision.
- Start by outlining the edge.
- Fill in the area using short strokes.
- Work from the outside inwards.
For corners, use the tip of the brush. Keep your hand steady. Move slowly to avoid mistakes.
By using these techniques, your painting will look professional. Practice makes perfect. Happy painting!
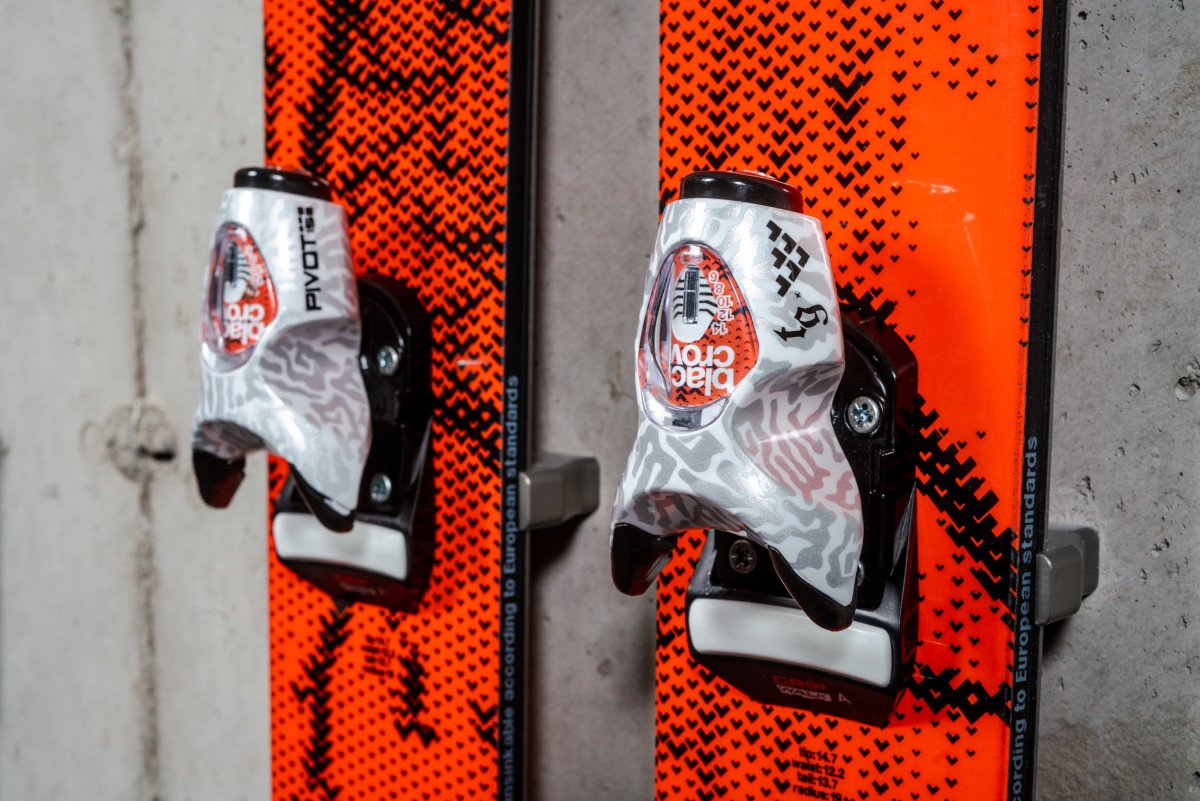
Credit: www.powder.com
Roller Techniques For Large Areas
Painting large areas with a roller can save time and effort. It provides a smooth finish and covers surfaces evenly. Using the right techniques is key to achieving professional results.
Loading The Roller
Start by choosing the right roller for your paint type. Dip the roller into the tray, covering it about halfway in paint. Roll it back and forth in the tray to evenly coat the roller. Avoid overloading to prevent drips and splatters.
Achieving Even Coverage
Begin painting in a zigzag or “W” pattern. This helps spread the paint more evenly. Fill in the gaps with horizontal strokes. Work in small sections to maintain a wet edge. This prevents lap marks and ensures a smooth finish. Apply consistent pressure to avoid streaks.
Drying And Curing Times
Understanding drying and curing times is crucial for a successful painting project. These times ensure the paint sets properly, providing a durable and long-lasting finish. Rushing through these stages can ruin your hard work. Let’s break down the drying and curing processes.
Drying Stages
Paint goes through several drying stages. Each stage is important for achieving a smooth finish. Here’s a quick look at the stages:
- Surface Dry: The top layer feels dry to the touch. This usually takes a few hours.
- Touch Dry: You can touch the surface without paint transferring to your fingers. This stage can take 4-6 hours.
- Hard Dry: The paint is dry and hard. You can safely handle the painted item. This takes around 24 hours.
- Thorough Dry: The paint is completely dry. It has reached its final hardness and color. This can take a few days.
Curing For Durability
Curing is different from drying. It’s the process where the paint reaches its maximum hardness and durability. This ensures your painted surface can withstand wear and tear. Curing times can vary based on paint type and environmental factors. Here’s a table to help you understand:
| Paint Type | Typical Curing Time |
|---|---|
| Latex Paint | 2-4 weeks |
| Oil-Based Paint | 1-2 weeks |
| Spray Paint | 24-48 hours |
During the curing process:
- Avoid heavy use of the painted item.
- Keep the area well-ventilated.
- Maintain a stable room temperature.
Understanding these stages ensures your project looks great and lasts longer. Patience is key to achieving the best results.
Common Mistakes To Avoid
Avoiding uneven paint application ensures a smooth finish. Using the wrong brushes can lead to streaks and poor coverage. Properly prepping surfaces prevents paint from peeling.
Painting Look Pivits can be a satisfying project. However, mistakes can lead to poor results. Avoid these common pitfalls to achieve a professional finish.Overloading The Brush
Many beginners make this mistake. They dip the brush too deep into the paint. This can cause drips and uneven layers. Instead, dip just the tip of the brush. Wipe off excess paint on the can’s edge. This ensures a smoother application.Ignoring Surface Prep
Surface prep is crucial. Many skip this step. Always clean the surface before painting. Remove any dust, dirt, or grease. Sand the surface if needed. This creates a better bond between the paint and surface. It prevents peeling and chipping later. “`
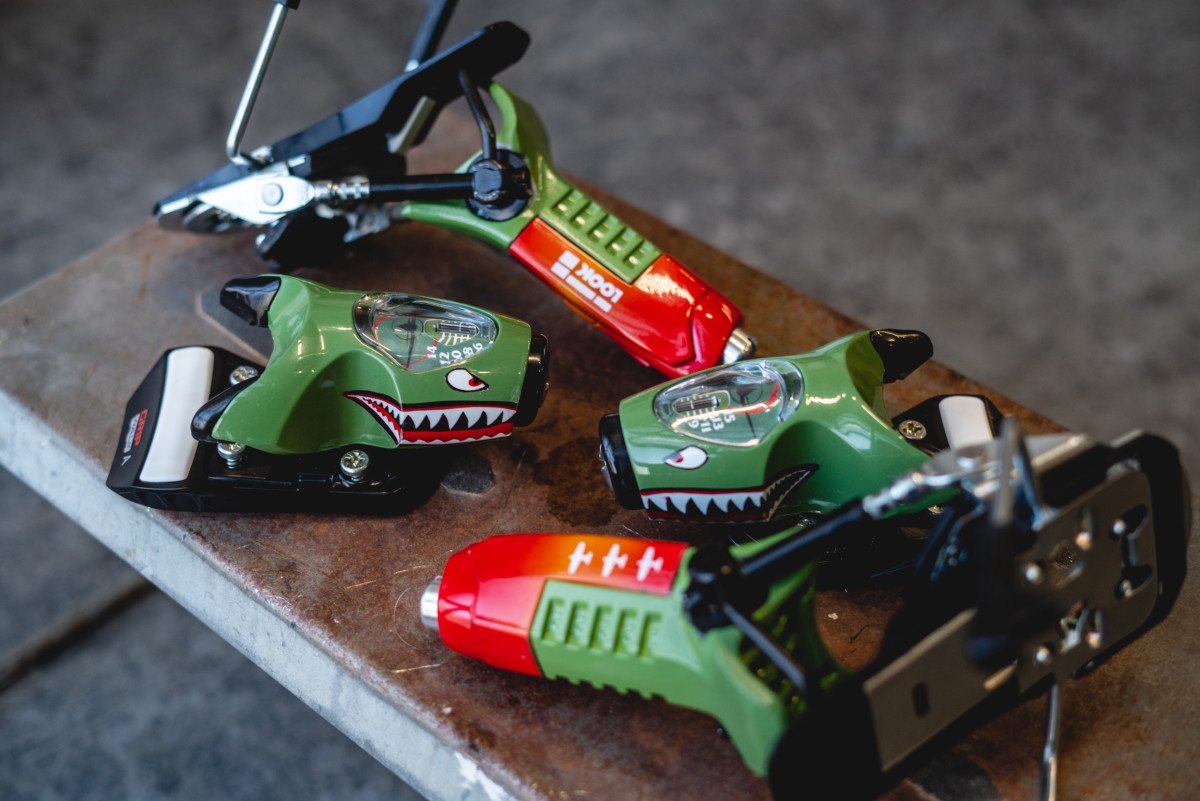
Credit: www.reddit.com
Frequently Asked Questions
What Materials Do I Need To Paint Look Pivots?
To paint look pivots, you need primer, paint, clear coat, sandpaper, and painter’s tape. Ensure you use high-quality products for durability.
How Do I Prepare Pivots For Painting?
Clean the pivots thoroughly and sand them to remove any old paint. Apply a primer to ensure proper paint adhesion.
Can I Paint Look Pivots Without Primer?
No, primer is essential for proper paint adhesion and a smooth finish. It also helps prevent peeling and chipping.
How Long Should Paint Dry On Pivots?
Allow each coat of paint to dry for at least 24 hours. This ensures durability and a smooth finish.
Conclusion
Achieving a perfect paint job on pivots takes patience and practice. Always prepare your surfaces well. Use quality paint for better results. Follow each step carefully for a smooth finish. Remember, taking your time ensures a longer-lasting effect. Now, you can confidently tackle painting pivots.
Enjoy the satisfaction of a job well done!