
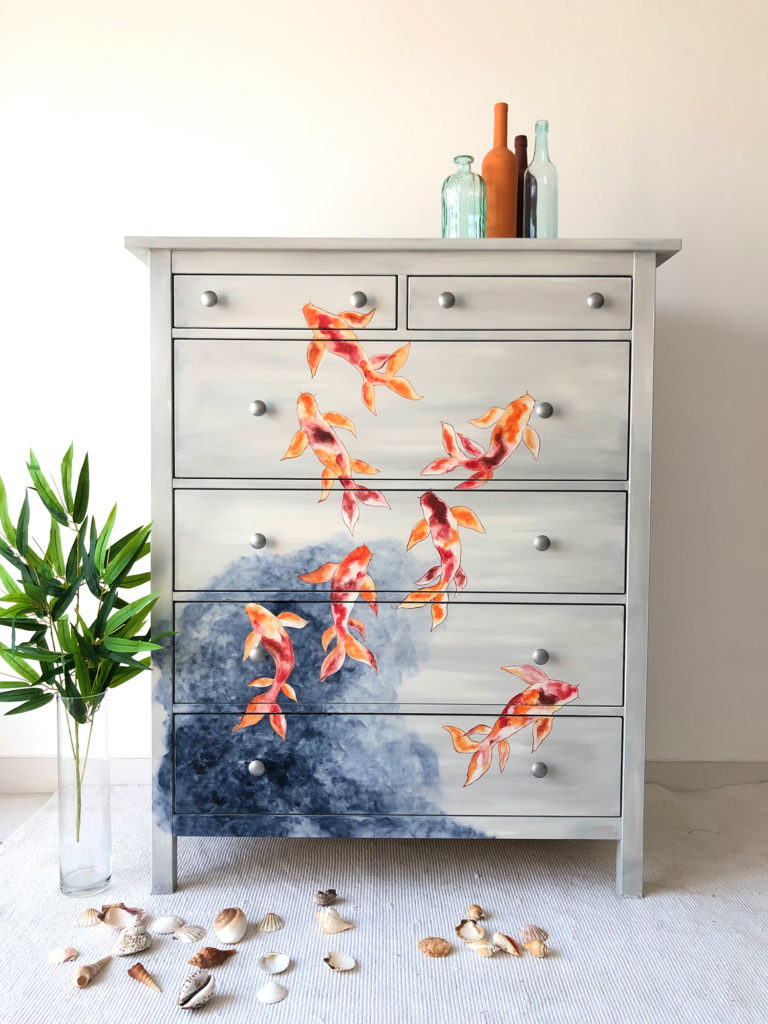
Painting a chest of drawers with chalk paint is simple and fun. Chalk paint is perfect for giving furniture a fresh, vintage look.
Transforming an old chest of drawers into a stylish piece can be a rewarding project. Chalk paint is easy to use and requires minimal preparation. This paint sticks to most surfaces without the need for sanding or priming. Plus, it dries quickly and creates a lovely matte finish.
Whether you want to update your decor or give new life to a thrift store find, chalk paint is a great choice. In this guide, you will learn the steps to achieve a beautiful painted chest of drawers. Let’s get started!

Credit: letspaintfurniture.com
Materials Needed
Painting a chest of drawers with chalk paint can transform an old piece of furniture into a charming centerpiece. Before you start, it is essential to gather all the materials needed to ensure a smooth and enjoyable painting process. Below, we have outlined the essential supplies and optional tools to help you get started.
Essential Supplies
These are the basic supplies you will need to paint your chest of drawers with chalk paint:
- Chalk Paint: Choose your preferred color.
- Paint Brushes: Use good quality brushes for better results.
- Sandpaper: Fine-grit (220) for smoothening surfaces.
- Painter’s Tape: Protect areas you do not want to paint.
- Drop Cloth: Protect your workspace from paint spills.
- Cleaning Supplies: Ensure the furniture is clean before painting.
- Sealer: A clear wax or polycrylic to protect the paint.
Optional Tools
While not essential, these tools can make the painting process easier and more efficient:
- Paint Roller: Useful for larger, flat surfaces.
- Detail Brushes: Ideal for intricate areas and edges.
- Electric Sander: Speeds up the sanding process.
- Painter’s Pyramid Stands: Lift the furniture off the ground for easier access.
- Stir Sticks: Ensure the paint is well-mixed before use.
- Gloves: Protect your hands from paint stains.
Preparation
Preparing a chest of drawers for chalk paint is crucial. Proper preparation ensures a smooth, long-lasting finish. This section will guide you through the essential steps of cleaning and sanding.
Cleaning The Surface
Start by thoroughly cleaning the surface of your chest of drawers. Use a damp cloth with mild soap to remove dust, dirt, and grease. Pay attention to corners and edges where grime can build up.
A clean surface allows the paint to adhere better. After cleaning, let the drawers dry completely before moving to the next step.
Sanding The Drawers
Once the drawers are clean and dry, lightly sand them. Use fine-grit sandpaper for this step. Sanding helps the paint to stick to the wood surface.
Focus on any rough areas or previous paint layers. You don’t need to sand down to bare wood. A light scuffing is enough to create a good surface for the chalk paint.
After sanding, wipe the drawers with a damp cloth again. This removes any sanding dust. Make sure the surface is clean and dry before painting.
Choosing Chalk Paint
Choosing the right chalk paint is crucial for painting a chest of drawers. This decision impacts the final look and durability of your project. Let’s dive into the key factors to consider.
Color Selection
Color choice is the first step. Think about the room where the chest will sit. Do you want it to blend in or stand out? Neutrals like white, beige, and gray create a calm effect. Bold colors like teal, red, or navy make a statement. Look at samples in different lights. Daylight and artificial light can change how colors look.
Quality Brands
Not all chalk paints are equal. Some brands offer better coverage and finish. Annie Sloan is a popular choice. Known for its rich colors and smooth application. Rust-Oleum provides good quality at a budget-friendly price. Dixie Belle offers a wide range of vibrant colors. Always read reviews. Look at customer photos to judge the final result.
Applying The First Coat
Applying the first coat of chalk paint to your chest of drawers is an exciting step. This is where you start to see your vision come to life. Before you begin, make sure your surface is clean and dry. This helps the paint adhere better and ensures a smooth finish.
Proper Techniques
Begin by stirring your chalk paint well. Use a good quality brush for the best results. Dip the brush into the paint lightly. Wipe off any excess paint to avoid drips. Apply the paint in long, even strokes. Start from the top and work your way down. This prevents any drips from ruining your work. Remember, less is more. Thin coats are better than thick ones.
Drying Time
Let the first coat dry completely before applying another. Chalk paint dries quickly, usually within an hour. But, it’s best to wait a bit longer if you can. This ensures the paint has properly adhered to the surface. Patience is key for a beautiful finish. Check the manufacturer’s instructions for specific drying times.
Adding Additional Coats
Painting a chest of drawers with chalk paint can transform its look. Once the first coat dries, adding additional coats ensures a smooth, durable finish. This step is crucial for achieving the best results. Let’s dive into some tips and methods to perfect this process.
Second Coat Tips
After the first coat dries completely, lightly sand the surface. This helps the second coat adhere better. Use fine-grit sandpaper to avoid scratching the paint. Wipe away any dust with a damp cloth before starting the second coat.
Apply the second coat in thin, even strokes. Follow the grain of the wood for a smoother finish. Don’t rush. Take your time to cover all areas evenly. Let the second coat dry thoroughly before deciding if a third coat is needed.
Achieving Full Coverage
Check for any missed spots or light areas after the second coat dries. These areas will need a little extra attention. Apply another thin coat to these spots. This ensures even coverage across the entire surface.
For dark or heavily stained wood, more coats might be necessary. Usually, three coats will achieve full coverage. Ensure each coat dries completely before adding the next. This patience will pay off with a beautiful, lasting finish.
Credit: www.anniesloan.com
Distressing Techniques
Distressing techniques are a great way to give your chest of drawers a rustic, vintage look. By using various methods, you can add character and charm to your furniture. Below are some effective techniques to help you achieve that perfect aged appearance.
Creating A Vintage Look
Creating a vintage look involves making your furniture appear old and worn. This look can add a lot of character to a piece. Here’s how you can achieve it:
- Layering Paint: Apply two different colors of chalk paint. Let the first layer dry before adding the second.
- Waxing: Use dark wax to enhance the aged appearance. Apply it sparingly for a subtle effect or generously for a more dramatic look.
- Chipping: Use a scraper to chip off small sections of paint. Focus on edges and corners for a natural look.
Using Sandpaper
Sandpaper is a simple yet effective tool for distressing furniture. Here’s how to use it:
- Select the right grit: Use medium to fine grit sandpaper. Start with 120 grit and move to 220 grit for a smoother finish.
- Focus on edges and corners: Sand areas that would naturally wear over time. This includes edges, corners, and drawer fronts.
- Vary pressure: Apply different levels of pressure to create a more natural, uneven wear. Light pressure for subtle distressing and firm pressure for more noticeable wear.
- Clean the surface: Wipe the dust off with a damp cloth. This ensures a clean finish.
Sealing The Paint
After painting your chest of drawers with chalk paint, sealing the paint is crucial. Sealing protects the paint and gives it a polished look. It also helps the paint last longer. Let’s explore how to seal the paint effectively.
Choosing A Wax
Choosing the right wax is essential. Clear wax is popular for preserving the paint color. Dark wax can add an antique look. For a more modern finish, consider white wax. Selecting a high-quality wax ensures better protection and finish.
| Wax Type | Finish | Best For |
|---|---|---|
| Clear Wax | Natural Finish | Preserving Color |
| Dark Wax | Antique Look | Vintage Style |
| White Wax | Modern Finish | Contemporary Style |
Application Methods
Applying wax can be done using several methods. Here are some popular ones:
- Brush: Use a wax brush for even application. Dip the brush in wax and apply in a circular motion.
- Cloth: A lint-free cloth can also be used. Rub the wax into the paint, ensuring even coverage.
- Buffing: After applying wax, wait for it to dry slightly. Then, buff with a clean cloth for a smooth finish.
Each method provides a different finish. Experiment to find the one that works best for your project. Remember, applying thin layers of wax is key. Thick layers can become sticky.
Sealing with wax not only protects but also enhances the beauty of your painted chest of drawers. Whether you choose clear, dark, or white wax, proper application ensures a lasting finish.
Credit: prettyprovidence.com
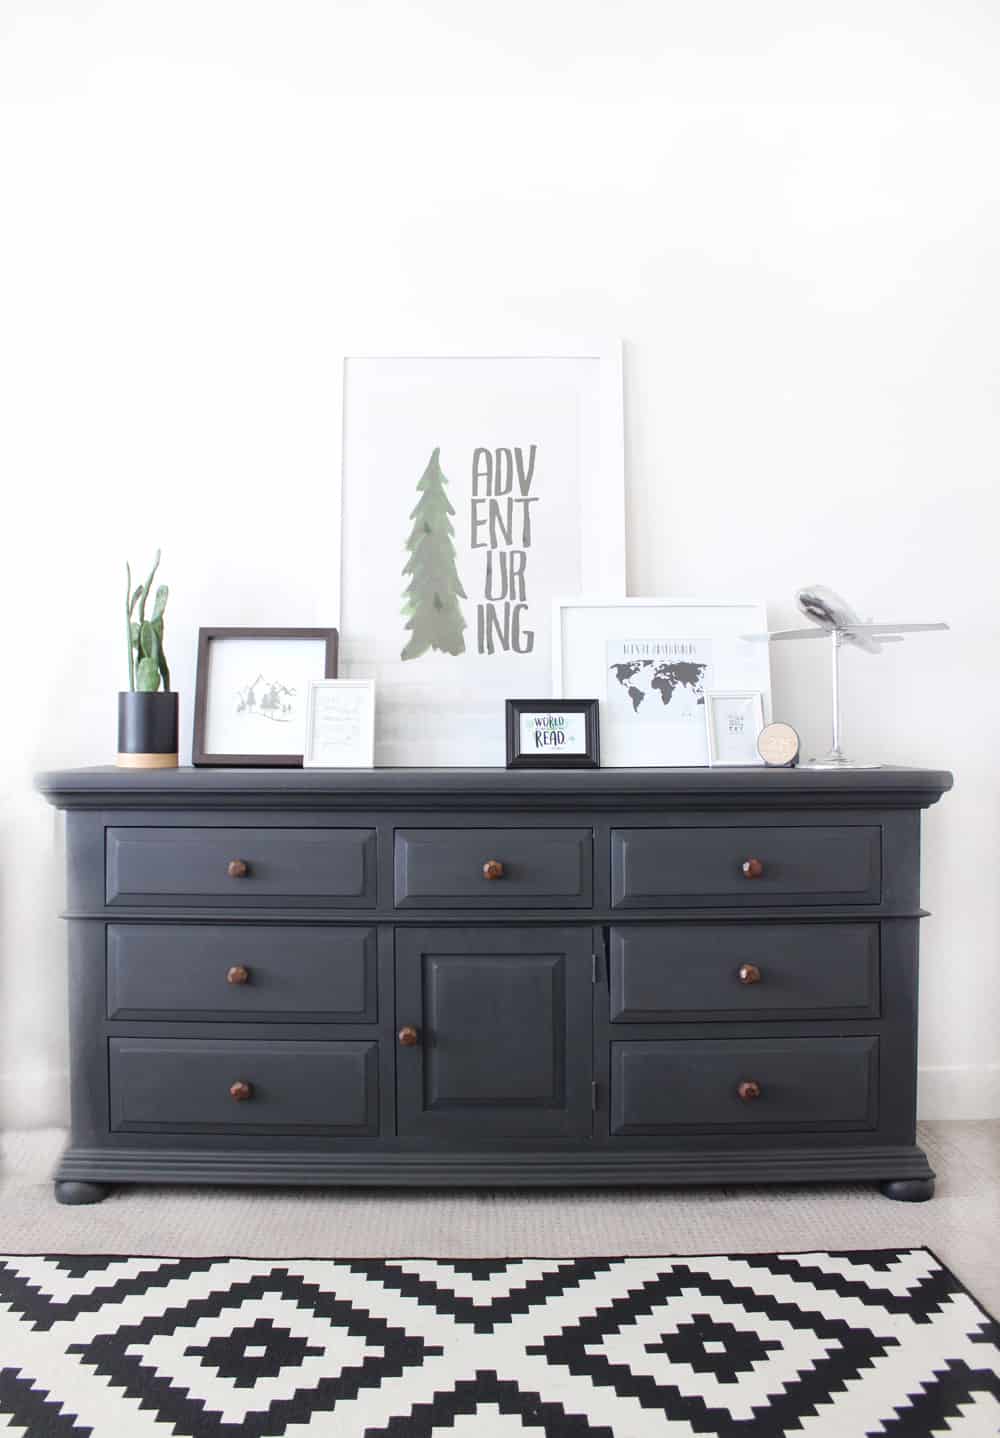
Final Touches
After painting your chest of drawers with chalk paint, it’s time for the final touches. These small details will complete the look and make your furniture piece stand out. Let’s add hardware and explore styling ideas.
Adding Hardware
New hardware can change the look of your chest of drawers. Choose knobs or handles that match your style. For a vintage feel, consider antique brass or ceramic knobs. For a modern touch, sleek metal handles work well. Make sure the hardware complements the color of the chalk paint.
First, remove the old hardware carefully. Use a screwdriver to avoid damaging the wood. Align the new hardware with the existing holes. Secure them tightly with screws. This step is simple but makes a big impact.
Styling Ideas
Once the hardware is in place, think about how to style your chest of drawers. A vase with fresh flowers adds a natural touch. Place a few framed photos for a personal feel. Books and candles can also enhance the look. Choose items that reflect your personality.
Consider the surroundings too. Your chest of drawers should blend with the room’s decor. Match colors and textures for a cohesive look. Use a runner or a decorative tray on top. This can protect the surface and add an extra layer of style.
Frequently Asked Questions
What Is Chalk Paint?
Chalk paint is a decorative paint known for its matte finish. It’s often used for giving furniture a vintage look. It adheres well to most surfaces without needing sanding or priming.
Do I Need To Sand Before Using Chalk Paint?
No, sanding is usually not required before using chalk paint. It adheres well to most surfaces. However, if the surface is glossy or has imperfections, light sanding may help.
How Many Coats Of Chalk Paint Are Needed?
Typically, two coats of chalk paint are sufficient for good coverage. However, the number of coats needed can depend on the color and condition of the furniture.
Can I Use A Roller With Chalk Paint?
Yes, you can use a roller with chalk paint. A foam roller works best for a smooth finish. Brushes are also commonly used for more textured effects.
Conclusion
Painting a chest of drawers with chalk paint is simple and fun. You can transform any piece of furniture with ease. Follow the steps for a smooth finish. Sand, clean, and paint in layers. Let each coat dry properly. Enjoy the process and the new look of your drawers.
Chalk paint offers a vintage feel. It’s great for beginners and experts alike. Try different colors and styles. Happy painting! Your creativity will shine through each brushstroke.