Yes, you can make acrylic ink from acrylic paint. It’s a simple process that involves thinning the paint to achieve the desired consistency.
This method lets you create custom inks for various art projects without spending extra money on specialized supplies. Acrylic paint is a versatile medium loved by artists for its vibrant colors and quick drying time. But what if you need acrylic ink for finer details or calligraphy?
Instead of buying new products, you can transform your existing acrylic paints into ink. This not only saves money but also ensures you have complete control over the color and consistency of your ink. In this post, we’ll explore the steps to make acrylic ink from acrylic paint and discuss the materials you’ll need for the process.
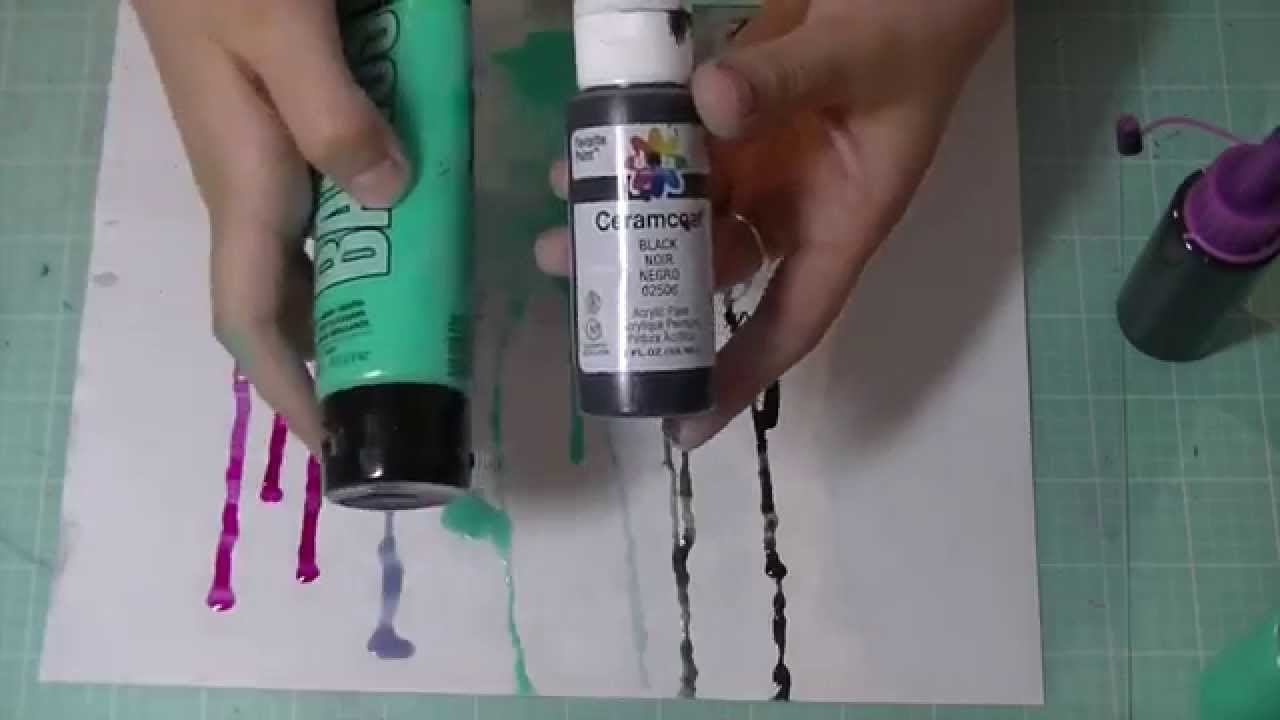
Credit: m.youtube.com
Materials Needed
To make acrylic ink from acrylic paint, gather acrylic paint, distilled water, and a mixing container. Use a palette knife or stir stick for blending. Ensure all materials are clean and ready for use.
Creating acrylic ink from acrylic paint is a fun and creative process. To ensure success, gather all necessary materials before starting. This section will help you understand what you need.Essential Supplies
You need some basic supplies to get started. First, you need acrylic paint. Choose the colors you like best. Next, you need water. Use distilled water for the best results. You also need a mixing container. A small plastic or glass jar works well. Finally, you need a mixing tool. A paintbrush or a small stick can be used.Optional Additives
Optional additives can improve your acrylic ink. You may want to use flow improver. This helps the ink flow better. Another useful additive is a binder. This keeps the pigment suspended in the liquid. You can also add a small amount of rubbing alcohol. This helps the ink dry faster. Experiment with these additives to get the best results. “`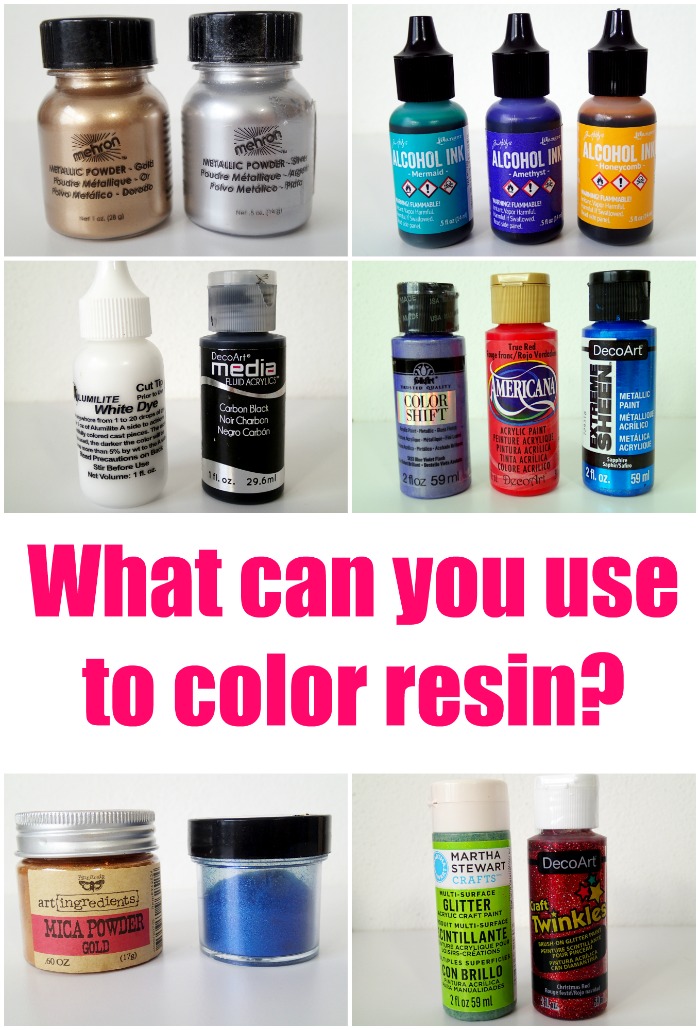
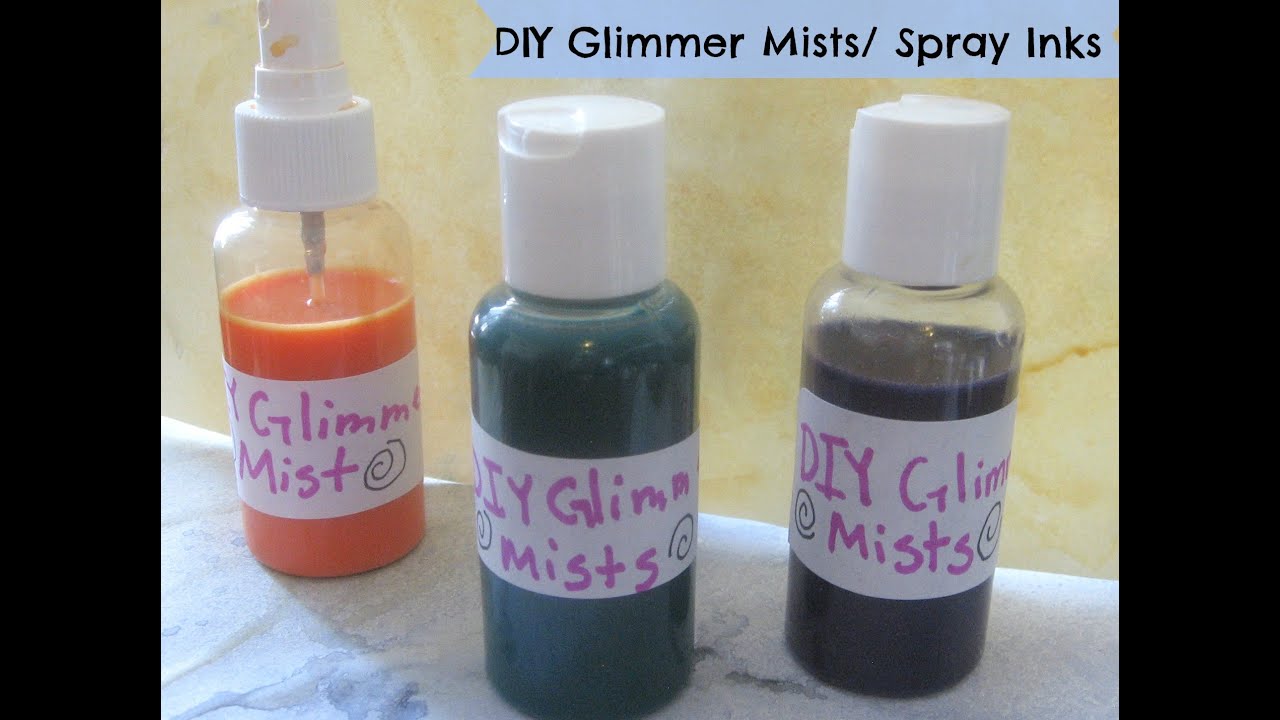
Credit: resingeodes.wordpress.com
Preparing Your Workspace
Creating acrylic ink from acrylic paint can be a fun and creative process. Before diving into the project, it is important to prepare your workspace. A well-prepared area will keep your materials organized and ensure your safety. Follow these steps to set up your workspace effectively.
Setting Up A Safe Area
Safety should always come first when working with art supplies. Choose a well-ventilated area to avoid inhaling any fumes. Ensure you have a flat, stable surface to work on. Cover your work area with a plastic tablecloth or newspaper to protect it from spills.
Keep any flammable items away from your workspace. Have a first-aid kit nearby in case of any accidents. Make sure you have good lighting to see your work clearly.
Gathering Tools
Having the right tools will make your project easier. Here is a list of essential tools you will need:
- Acrylic paint
- Water or acrylic medium
- Empty ink bottles or containers
- Pipettes or droppers
- Mixing bowls or cups
- Stirring sticks or spoons
- Gloves to protect your hands
Once you have gathered your tools, organize them within easy reach. This will save time and reduce mess.
Now that your workspace is ready, you can start the process of making acrylic ink from acrylic paint. With everything in place, you’ll find it easier and more enjoyable to create your own custom inks.
Choosing The Right Paint
Creating acrylic ink from acrylic paint can be a fun and creative process. The first crucial step is choosing the right paint. The type of acrylic paint you select will determine the quality and characteristics of your homemade ink. Let’s explore the key factors to consider.
Types Of Acrylic Paint
There are several types of acrylic paint available in the market. Each type offers different properties that can influence your final ink.
| Type | Characteristics |
|---|---|
| Artist-Grade | High pigment concentration, vibrant colors, long-lasting |
| Student-Grade | Lower pigment concentration, affordable, good for practice |
| Fluid Acrylics | Thin consistency, easy to mix, great for detailed work |
| Heavy Body | Thick consistency, retains brush strokes, suitable for texture |
Color Considerations
Choosing the right color is also important. The color of your acrylic paint will affect the final shade of your ink.
- Primary Colors: Red, blue, and yellow can be mixed to create other colors.
- Secondary Colors: Orange, green, and purple are good for specific shades.
- Metallic Colors: Add a shimmer effect to your ink.
Mixing different colors can create unique and personalized shades. Always test small amounts first to see the result.
Mixing The Ink
Creating acrylic ink from acrylic paint is a fun DIY project. It allows you to customize colors and consistency. This section will guide you through the process of mixing the ink.
Step-by-step Process
- Gather Your Materials: You will need acrylic paint, water, a mixing container, and a stir stick.
- Prepare the Paint: Squeeze a small amount of acrylic paint into the container.
- Add Water: Add water gradually. Start with a few drops.
- Mix Thoroughly: Stir the mixture well. Ensure there are no lumps.
- Test the Ink: Test on a piece of paper. Adjust the consistency if needed.
Consistency Tips
Consistency is key for creating effective acrylic ink. Here are some tips to get it right:
- Thicker Ink: Use less water for a thicker consistency. This is ideal for bold lines.
- Thinner Ink: Add more water for a thinner consistency. This is great for washes and layering.
- Test Frequently: Regularly test your ink on paper. Adjust as needed.
If the ink is too thick, add more water. If it’s too thin, add more paint. Finding the right balance is essential.
Storing Your Acrylic Ink
When you make your own acrylic ink from acrylic paint, it’s important to store it properly. Proper storage ensures the ink remains usable for a long time. It also prevents the ink from drying out or becoming contaminated.
Container Options
Choose the right container for storing your acrylic ink. Opt for small, airtight containers. These containers help keep the ink fresh and prevent it from drying out.
- Plastic Bottles: Lightweight and durable.
- Glass Jars: Easy to clean and non-reactive.
- Squeeze Bottles: Convenient for dispensing ink.
Label each container with the color and date of creation. This helps track the ink’s age and usability.
Shelf Life And Maintenance
Acrylic ink has a decent shelf life when stored correctly. Keep it in a cool, dark place. Avoid direct sunlight as it can alter the ink’s properties.
To maintain the ink, shake the container occasionally. This prevents pigments from settling at the bottom. If you notice any mold or smell, discard the ink immediately.
| Storage Tips | Action |
|---|---|
| Store in a cool place | Prevents drying out |
| Use airtight containers | Keeps ink fresh |
| Shake periodically | Maintains consistency |
| Label containers | Tracks age and color |
Following these tips ensures your acrylic ink stays in good condition. Enjoy your creative projects without any interruptions.
Credit: altenew.com
Testing And Using Your Ink
Testing and using your homemade acrylic ink ensures it meets your needs. This section will guide you through initial tests and application techniques. Let’s make sure your ink performs well.
Initial Tests
First, test the ink on different surfaces. Use paper, canvas, and wood. Observe how it dries and the color intensity. Look for any clumping or separation. This will tell you if the consistency is right.
Check the ink’s flow with different tools. Try brushes, pens, and droppers. See if it flows smoothly without clogging. This helps in knowing its versatility. Adjust the ink’s thickness if needed.
Application Techniques
Experiment with varied application methods. Use a brush for broad strokes. Try a pen for detailed work. Each tool offers a different effect. This helps in finding the best use for your ink.
Test layering techniques with your ink. Apply thin layers first. Let each layer dry before adding another. This builds depth and richness in color. It also prevents smudging and blending issues.
Finally, use your ink in real projects. Test it on your art pieces. Notice how it interacts with other materials. This gives you practical insights. Make adjustments based on these experiences.
Troubleshooting Common Issues
When making acrylic ink from acrylic paint, you may encounter some issues. Troubleshooting these common problems can help you achieve better results. This section will focus on clumping and separation and adjusting consistency.
Clumping And Separation
Clumping and separation are common issues with homemade acrylic ink. Clumping occurs when the paint particles do not dissolve evenly. Separation happens when the ink components do not mix well.
| Issue | Solution |
|---|---|
| Clumping |
|
| Separation |
|
Adjusting Consistency
Getting the right consistency is key for acrylic ink. If the ink is too thick, it may not flow well. If it is too thin, it may not cover well.
-
Thick Ink:
- Add more water to the mixture.
- Use a few drops of acrylic medium.
- Mix thoroughly to ensure an even consistency.
-
Thin Ink:
- Add more acrylic paint to the mixture.
- Use less water.
- Mix until the desired thickness is reached.
Adjusting consistency is crucial. Experiment with small batches. This way, you can avoid wasting materials.
Creative Uses For Diy Acrylic Ink
Creating your own acrylic ink from acrylic paint can be a delightful adventure. It opens up a world of artistic possibilities. With DIY acrylic ink, you can explore various creative uses. From art projects to fun crafts, the options are endless.
Artistic Projects
DIY acrylic ink works wonders in artistic projects. It’s perfect for watercolor-like paintings. The ink flows smoothly on paper, creating beautiful, vibrant art. You can also use it for calligraphy. The fluidity of the ink makes it ideal for elegant lettering. Experiment with different techniques to see what works best. Try blending colors for unique effects. Enjoy the creative freedom it provides.
Craft Ideas
Acrylic ink can enhance many craft ideas. Use it to decorate greeting cards. The vibrant colors will make your cards stand out. You can also make custom bookmarks. Paint designs using the ink and laminate them for durability. Another idea is to create unique gift tags. Personalize each tag with your ink designs. It adds a special touch to your gifts. The possibilities are endless with DIY acrylic ink in crafting.
Frequently Asked Questions
Can You Make Acrylic Ink From Acrylic Paint?
Yes, you can make acrylic ink from acrylic paint. Simply dilute the paint with water or a medium.
What Supplies Are Needed To Make Acrylic Ink?
To make acrylic ink, you need acrylic paint, water or a medium, and a mixing container.
How Do You Mix Acrylic Paint To Make Ink?
Mix acrylic paint with water or an acrylic medium. Stir until you achieve a smooth, ink-like consistency.
Is Homemade Acrylic Ink As Good As Store-bought?
Homemade acrylic ink can be as good as store-bought. It depends on the quality of the paint and mixing.
Conclusion
Creating acrylic ink from acrylic paint is simple and fun. It offers endless possibilities for creativity. With just a few steps, you can customize your ink. Experiment with colors and consistency to suit your needs. This DIY approach saves money and reduces waste.
Plus, it’s satisfying to make your own art supplies. So, gather your materials and start mixing today. Enjoy the process and see where your creativity leads!