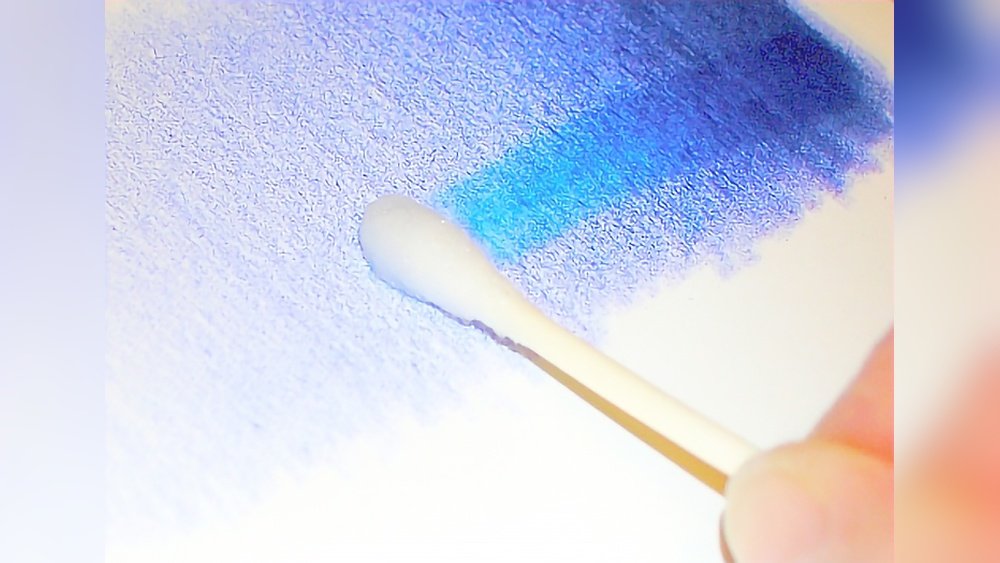
Are you ready to take your colored pencil artwork to the next level? Learning how to blend colored pencils smoothly can transform your drawings from flat and basic to rich and vibrant.
Whether you want to create seamless gradients or add depth and realism, mastering blending techniques is key. In this guide, you’ll discover simple, effective methods like layering, burnishing, and using blender pencils that anyone can try. By the end, you’ll have the confidence to make your colors flow effortlessly together, giving your art that professional touch you’ve been aiming for.
Let’s dive in and unlock the secret to beautifully blended colored pencil drawings!
Basic Layering Techniques
Basic layering techniques form the foundation of blending colored pencils. Layering helps create smooth transitions and rich colors. This method builds depth by applying colors slowly in thin layers. It requires patience but offers great control over the final look.
Start with light pressure. This prevents the paper from becoming too saturated too quickly. Use small, circular strokes to apply the first color layer. These gentle motions help the pigment spread evenly. Avoid pressing hard to keep the paper’s texture intact.
Next, add more layers with different colors. Overlap the edges where colors meet to create a seamless blend. Gradually increase pressure as you add layers, but keep strokes soft and consistent. This process allows colors to mix naturally on the paper.
Use Light Pressure
Begin with a soft touch to protect the paper’s surface. Light pressure lets you build color slowly. It also makes it easier to fix mistakes. Pressing lightly keeps pencil strokes subtle and smooth.
Layer Colors Gradually
Apply colors in thin, even layers. Start with the lightest color and move to darker shades. Overlap layers to blend colors softly. Repeat this process until you reach the desired intensity.
Blend With Small Circular Strokes
Use small circles rather than straight lines. Circular strokes help blend colors naturally. They avoid harsh edges and make transitions smooth. Keep your hand relaxed to maintain control.
Burnishing For Smooth Blends
Burnishing is a key technique for creating smooth blends with colored pencils. It uses heavy pressure to mix and polish layers of color. This method fills the paper’s texture, producing a rich, shiny finish. Artists use burnishing to eliminate visible pencil strokes and create seamless color transitions.
Using a light or white pencil, you press firmly over layered colors. The wax in the pencil blends the pigments together. This results in a soft, smooth look that makes your drawing more vibrant and polished. Burnishing also helps to deepen colors and add a glossy effect.
What You Need For Burnishing
Choose a light or white colored pencil for burnishing. A colorless blender pencil works well too. Use smooth, heavy paper with minimal texture for best results. Sharp pencils give more control during burnishing. Avoid papers that are too rough, as they resist smooth blending.
Step-by-step Burnishing Process
Start by layering your colors lightly. Use small, circular motions to build up color gradually. Next, take your burnishing pencil and press firmly over the colored areas. Move in small circles to blend the layers evenly. Repeat until you achieve a smooth, polished finish.
Tips For Better Burnishing Results
Do not press too hard initially; build pressure gradually. Keep your pencil tip sharp for precise control. Work in small sections to avoid uneven blending. Use a colorless blender to enhance smoothness without changing colors. Practice on scrap paper to get comfortable with pressure levels.
Using Colorless Blender Pencils
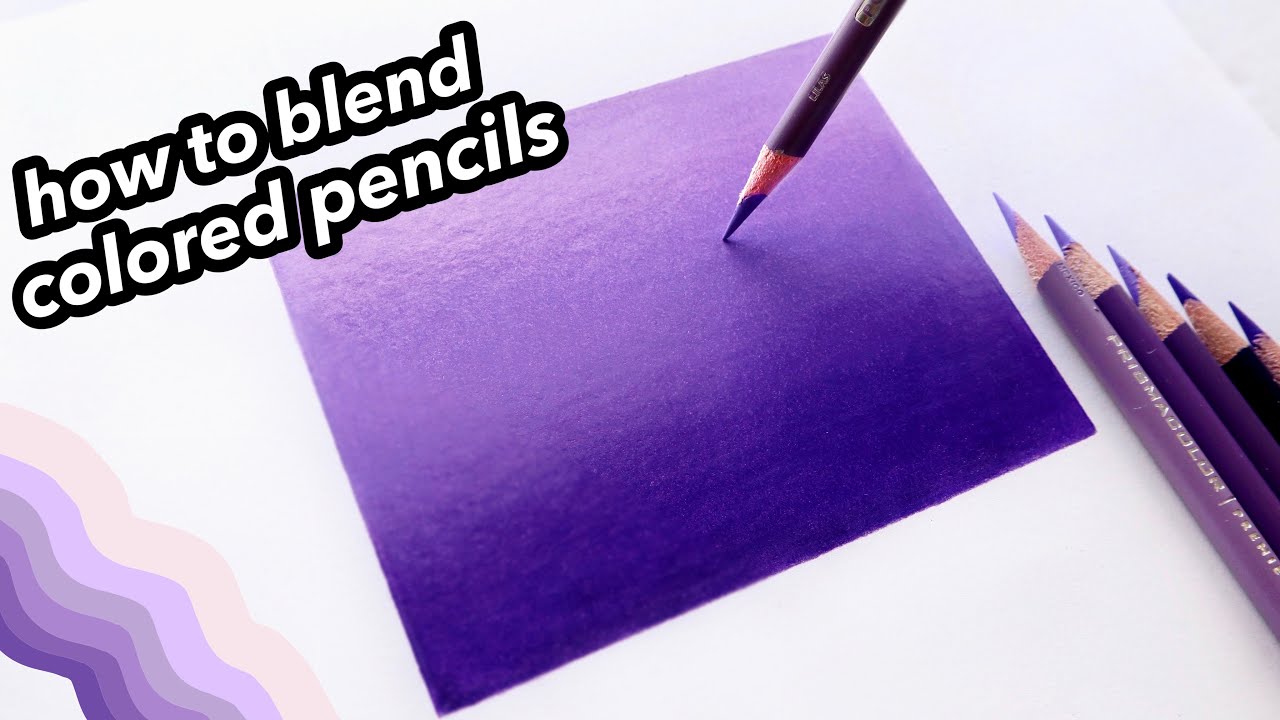
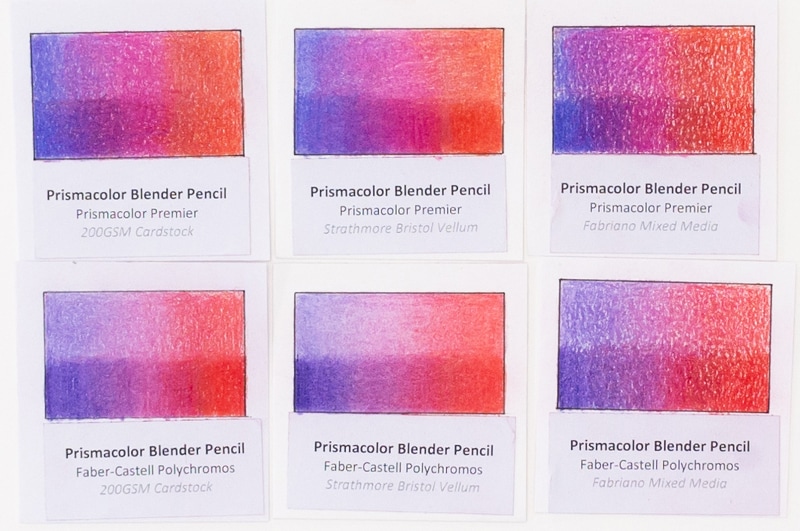
Using colorless blender pencils is a popular method to smooth and unify colored pencil artwork. These pencils do not add color but help mix and soften the pigments already on the paper. They create a polished look without changing the original hues.
The colorless blender pencil works by pushing and spreading the colored pigment across the paper surface. This action fills the paper’s texture, blending layers into one seamless color. It is especially useful for blending light and dark shades smoothly.
How To Use A Colorless Blender Pencil
Start by coloring the area with your chosen colors. Use light pressure to layer the colors gradually. Then, apply the colorless blender pencil over the colored area. Use small, circular motions to mix the pigments. Press firmly but not too hard to avoid tearing the paper. Repeat until the colors blend smoothly.
Benefits Of Colorless Blender Pencils
These pencils keep the original colors intact. They do not add white or other tones to the blend. They help eliminate harsh lines between colors. The texture of the paper becomes less visible. This creates a smooth, professional finish. Colorless blenders also protect the artwork by reducing the need for extra layers.
Tips For Best Results
Use good-quality colored pencils and paper for smoother blending. Work in small sections to control the blending process. Layer colors lightly before blending to avoid muddy colors. Clean your blender pencil tip regularly to prevent color contamination. Experiment with pressure to find the best effect for your style.
Credit: www.youtube.com
Choosing The Right Paper
Choosing the right paper is crucial for blending colored pencils well. The texture and weight of the paper affect how colors mix and layer. Different papers hold pigment in unique ways, changing your blending results. Picking the right paper helps your artwork look smooth and vibrant.
Understanding Paper Texture
Paper texture is also called “tooth.” It means how rough or smooth the surface feels. Rough paper holds more pigment but can make blending harder. Smooth paper lets pencils glide easily, creating soft blends. For beginners, medium-textured paper often works best. It balances pigment hold and blending ease.
Choosing Paper Weight
Paper weight means how thick or strong the paper is. Heavy paper can handle many layers without buckling. Thin paper may tear or warp when you press hard. For colored pencils, choose paper that is at least 80 lb (120 gsm). This weight supports layering and burnishing techniques well.
Considering Paper Color
White paper shows colors clearly and brightly. Off-white or cream papers give a warm tone to your drawing. Colored papers add mood but change pencil colors. Try different paper colors to see how they affect your blending. White or light-toned papers are easiest for blending practice.
Specialty Papers For Colored Pencils
Some papers are made just for colored pencils. These have the right tooth and weight for layering and blending. Brands like Bristol, Stonehenge, or pastel papers work well. They provide a good surface to build colors smoothly. Experiment with specialty papers to find what suits your style best.
Light Pressure Application
Light pressure application is key to blending colored pencils smoothly. Applying soft strokes helps colors layer gently. This technique prevents harsh lines and allows gradual color mixing.
Using light pressure lets you build up color slowly. It keeps the pencil from digging into the paper. This preserves the texture, which is important for blending.
Start With Gentle Strokes
Hold the pencil lightly and use small, circular motions. This spreads the pigment evenly without pressing too hard. Gentle strokes keep the paper’s surface open for more layers.
Layer Colors Gradually
Apply one color with light pressure, then add another on top. Blend the edges by overlapping with soft strokes. Layering slowly creates a smooth transition between colors.
Maintain Consistent Light Touch
Keep your hand relaxed to avoid heavy marks. Consistency in pressure helps colors blend naturally. Changing pressure too much can cause uneven patches.
Use Light Pressure For Burnishing
Burnishing means blending by pressing firmly with a light-colored pencil. Begin with light layers first, then gently burnish to smooth the surface. This seals layers together without damaging paper.
Credit: sarahrenaeclark.com
Overlapping Colors Seamlessly
Blending colored pencils by overlapping colors creates smooth, natural transitions. This technique helps avoid harsh lines and patchy areas. It builds depth and richness in your artwork.
Start by applying one color lightly over the other. Use soft, small strokes to merge the edges. Gradually layer colors to achieve a seamless blend.
Use Light Pressure And Small Circles
Apply colors with a gentle touch. Light pressure keeps the paper’s texture visible. Use small circular motions to mix colors softly. This method prevents wax buildup and uneven patches.
Layer Colors Gradually
Build up colors slowly in thin layers. Overlap the edges where two colors meet. Each layer should add more pigment to blend the shades. Patience is key for a smooth finish.
Burnish To Smooth The Blend
Press firmly with a white or light pencil to burnish. This technique presses pigment into the paper fibers. It creates a polished, even surface. Burnishing also removes visible pencil strokes.
Try A Colorless Blender Pencil
A colorless blender pencil helps merge colors without adding pigment. Use it in small circular strokes over overlapping areas. It softens edges and creates a natural gradient.
Building Color Saturation
Building color saturation is key to vibrant, rich colored pencil artwork. It means layering colors to increase depth and intensity. Starting with light layers helps keep the paper’s texture intact. Adding more layers gradually boosts the color’s strength without harsh lines.
Use soft, circular motions to apply each layer. This method blends the colors smoothly and prevents patchiness. Avoid pressing too hard at first. Light pressure allows easier blending and color mixing as you add layers.
Applying Light Layers
Begin with a gentle touch. Use light pressure to lay down the first colors. Small, circular strokes work best to cover the area evenly. Let each layer dry before adding the next. This step builds a smooth base and prevents waxy buildup.
Gradual Color Build-up
Slowly add more layers to deepen the color. Overlap colors slightly to blend them well. Each new layer should be a bit stronger than the last. This gradual approach keeps the colors vibrant and smooth.
Using Burnishing For Smooth Finish
Burnishing means pressing hard with a light or colorless pencil. This technique blends layers into a smooth, shiny surface. It fills the paper’s tooth, creating a polished look. Use circular motions and firm pressure to blend colors seamlessly.

Credit: www.youtube.com
Incorporating Solvents Safely
Using white and neutral pencils helps blend colors smoothly in colored pencil art. These pencils soften harsh lines and create a polished look. They also add subtle highlights and unify multiple colors.
White pencils work well for lightening colors and filling gaps between strokes. Neutral pencils, like beige or gray, tone down bright colors without changing their hue. Both types help achieve a seamless color transition.
How White Pencils Soften Colors
White pencils apply a gentle layer over colored areas. This action blends colors by reducing contrast. The white pencil pushes pigment into the paper’s texture. This fills empty spaces and smooths color edges.
Press lightly with the white pencil in small circles. Avoid heavy pressure to keep colors bright. Repeat until the colors blend evenly.
Using Neutral Pencils To Tone Colors
Neutral pencils add a muted shade to vivid colors. They create a natural look by softening brightness. Use beige, gray, or light brown pencils over colored layers.
Apply the neutral pencil with light pressure. Blend using circular strokes to mix the colors gently. This method keeps the drawing balanced and less harsh.
Tips For Effective Blending With White And Neutral Pencils
Start with light layers of color before blending. Use small, circular motions to apply white or neutral pencils. Work slowly to avoid over-blending and dull colors.
Use a sharp pencil tip for better control. Blend edges more than the center for smooth transitions. Experiment with pressure to find the right softness for your artwork.
Frequently Asked Questions
How Do You Blend Colored Pencils Smoothly?
Blend colored pencils smoothly by layering light, circular strokes with light pressure. Overlap colors gradually for seamless transitions. Use a white or colorless blender pencil with firm, circular motions to burnish and smooth layers. Repeat layering and burnishing until achieving desired vibrancy and smoothness.
Can You Blend Colored Pencils With Your Finger?
Yes, you can blend colored pencils with your finger, but it may smudge and create uneven results. Using blending tools offers smoother effects.
How To Blend Pencil For Beginners?
Start by applying light, circular strokes with colored pencils. Gradually layer colors, overlapping edges softly. Use a white or colorless pencil to burnish and blend smoothly. Repeat layering and burnishing until achieving desired smoothness and vibrancy.
What Solvent To Use To Blend Colored Pencils?
Use rubbing alcohol, odorless mineral spirits, or a colorless blender pencil to blend colored pencils smoothly and evenly.
How Do You Blend Colored Pencils Smoothly?
Use light layering with small, circular strokes, then burnish with a white or colorless pencil.
What Tools Help Blend Colored Pencils Best?
Colorless blender pencils, white pencils, blending stumps, and soft tissues work well for blending.
Can You Blend Colored Pencils Without Special Tools?
Yes, layering colors lightly and using a white pencil can blend without extra tools.
What Is Burnishing In Colored Pencil Blending?
Burnishing means pressing hard with a light pencil to smooth and mix color layers.
How Many Layers Should I Use For Blending?
Apply 3 to 5 light layers to blend colors smoothly without damaging the paper.
Does Paper Type Affect Colored Pencil Blending?
Yes, smooth paper helps colors blend better than rough, textured paper.
Conclusion
Blending colored pencils takes practice and patience. Start with light layers and gentle strokes. Overlap colors slowly to create smooth transitions. Use burnishing or a colorless pencil to soften edges. Keep your hand relaxed and work in small circles. Experiment with different techniques to see what works best.
Enjoy the process and watch your art come alive. Practice regularly to improve your blending skills. This simple method helps create beautiful, seamless color blends. Keep your pencils sharp for better control and detail. Blending makes your drawings look more realistic and vibrant.