Are you tired of staring at a dull, monochrome terminal every time you code in Visual Studio Code? Imagine how much more engaging and easier on the eyes your workflow could be with a vibrant, colorful terminal right inside your editor.
In this guide, you’ll learn simple, practical steps to transform your VS Code terminal from bland to brilliant. Whether you want to boost your productivity or just enjoy a fresher look, this article will show you exactly how to get a colorful terminal that suits your style.
Keep reading, and make your coding sessions more lively and inspiring!
Choose A Color Theme
Choosing the right color theme in VS Code can transform your terminal experience. It makes the terminal easier to read and more enjoyable to use. Colors help highlight important information and reduce eye strain during long coding sessions.
VS Code offers many built-in color themes. These themes change the colors of the terminal text and background. You can also find and install custom themes from the marketplace. Each theme has its unique style and color palette.
How To Open The Color Theme Picker
To select a color theme, open the Color Theme picker in VS Code. Use the menu: File > Preferences > Color Theme. On macOS, go to Code > Preferences > Color Theme. You can also press Ctrl+K Ctrl+T to open it quickly. This shows a list of available themes.
Previewing And Selecting A Theme
Use the arrow keys to scroll through the theme list. Each theme preview updates the terminal colors instantly. This helps you find a theme that suits your style. Press Enter to apply the selected theme. You can change it anytime to keep your terminal fresh.
Installing New Color Themes
Open the Extensions view with Ctrl+Shift+X. Search for “color theme” or “terminal theme.” Install themes with good reviews and recent updates. After installation, the new theme appears in the Color Theme picker. Try different themes until you find the best one for you.

Credit: stackoverflow.com
Open Terminal Color Settings
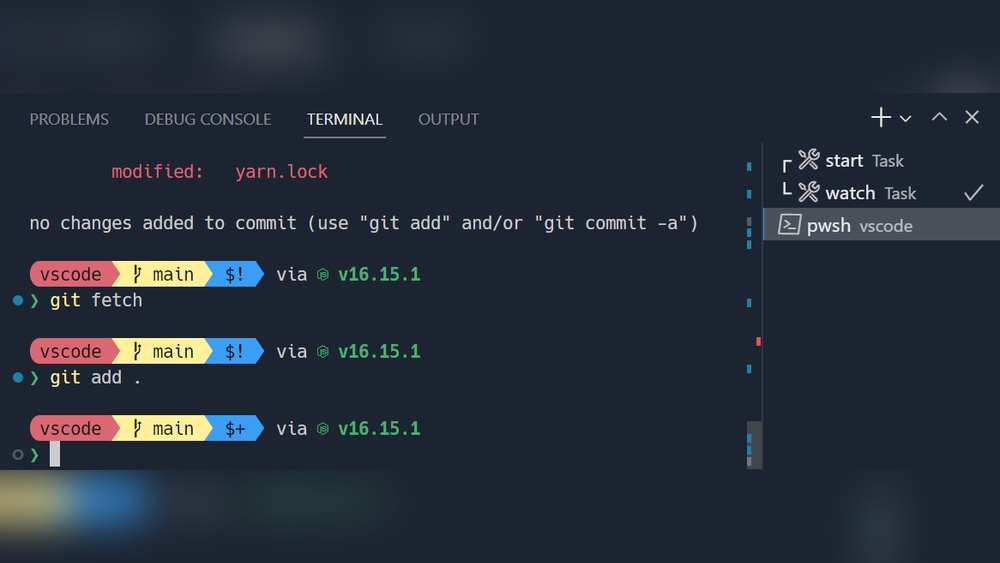
The terminal in Visual Studio Code (VSCode) is a powerful tool. Making it colorful improves readability and user experience. Customizing terminal colors helps you quickly spot errors and commands. Before changing colors, you must open the terminal color settings. This section explains how to do that simply and clearly.
Open Vscode Settings
First, launch VSCode on your computer. Click on the gear icon in the lower-left corner. This opens the settings menu. You can also press Ctrl + , on Windows or Cmd + , on macOS. This shortcut directly opens the settings panel.
Search For Terminal Color Settings
In the settings search bar, type terminal color. This filters the options to show all terminal color-related settings. You will see options like terminal background color, cursor color, and ANSI colors. These are the main settings to change the terminal’s look.
Modify Terminal Colors
Click on any color setting you want to change. A color picker will appear. Choose your favorite color or enter a hex code. Changes apply instantly, so you see the effect immediately. Experiment with different colors until the terminal looks vibrant and clear.
Save And Close Settings
After adjusting colors, close the settings tab. Your terminal color changes remain saved automatically. Open a new terminal window in VSCode to check the updated colors. Enjoy a colorful, easy-to-read terminal that matches your style.
Customize Terminal Background
Customizing the terminal background in VSCode changes how your terminal looks. It makes your coding space more personal and easier on the eyes. A well-chosen background color can reduce eye strain and improve focus during long coding sessions.
You can pick colors that fit your style or match your overall VSCode theme. This guide shows simple steps to customize the terminal background quickly and effectively.
Open Vscode Settings
First, launch VSCode. Then open the settings panel. Click on the gear icon in the lower left corner. Choose “Settings” from the menu. You can also press Ctrl + , for a shortcut. This opens the main settings where you can adjust terminal colors.
Locate Terminal Background Color Option
Use the search bar in settings. Type “terminal background” to find the option fast. Look for Workbench › Color Customizations or similar settings. This section allows you to change colors for the terminal background specifically.
Edit Terminal Background Color
Click “Edit in settings.json” for precise control. Add a new color code under the workbench.colorCustomizations section. For example:
{ "workbench.colorCustomizations": { "terminal.background": "1E1E1E" } }Replace 1E1E1E with your preferred hex color code. Save the file. The terminal background changes instantly to the new color.
Use Predefined Themes For Terminal Background
VSCode offers many color themes. These themes automatically adjust terminal colors. Open the command palette with Ctrl + Shift + P. Type “Color Theme” and select it. Browse and preview themes that change the terminal background too.
Create Custom Theme Extensions
For advanced users, create a custom theme extension. This method lets you set terminal background and more. Use VSCode’s extension tools to build and apply your theme. This option suits users who want full control over colors and styles.
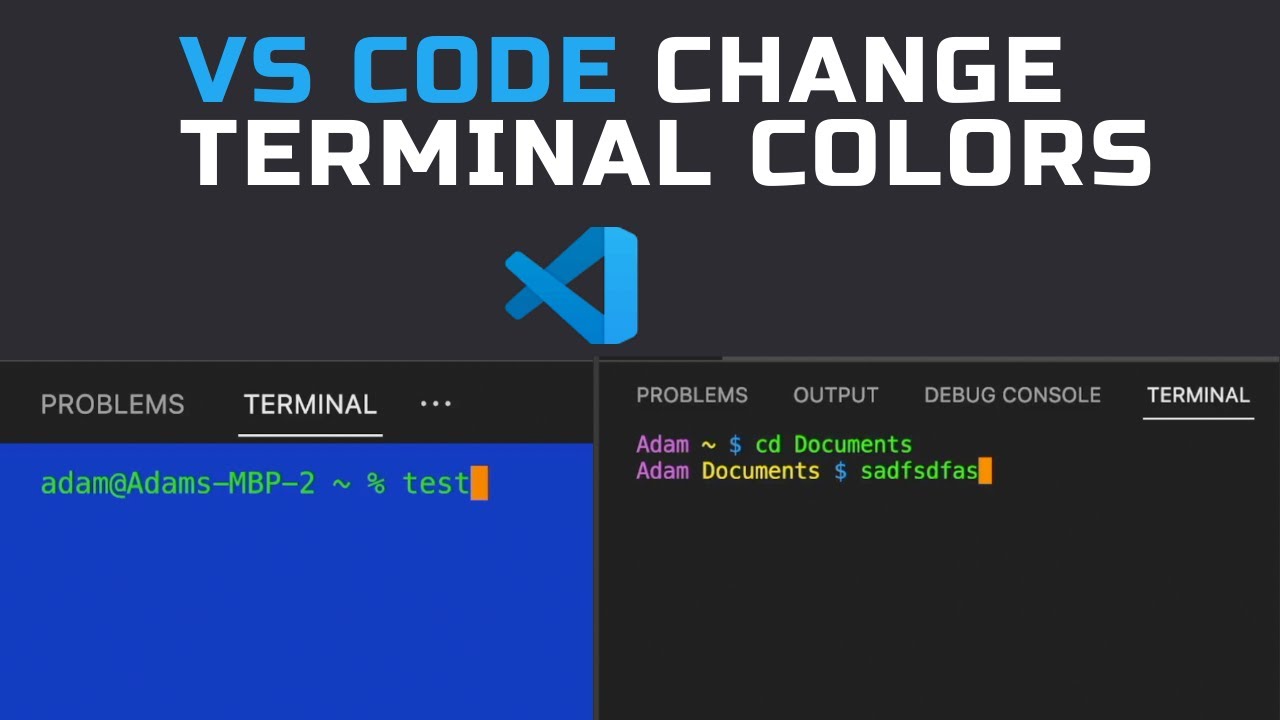
Credit: www.youtube.com
Change Terminal Font Colors
Changing the terminal font colors in VS Code makes your coding environment livelier. Colors help separate commands, outputs, and errors. This improves readability and reduces eye strain during long sessions.
You can customize font colors easily by editing settings or using themes. These changes apply instantly, so you see the difference right away. Let’s explore how to change your terminal font colors step-by-step.
Access Terminal Color Settings
Open VS Code and press Ctrl + , to open Settings. Search for terminal.integrated to find terminal color options. Scroll to the color customization section.
Here, you can change colors for text, cursor, and selection. This area controls the font colors shown inside your terminal window.
Customize Colors Using Settings.json
For more control, open settings.json by clicking the top-right icon in Settings. Add color codes under the workbench.colorCustomizations section.
Use keys like terminal.foreground or terminal.ansiBlue to set specific colors. Input hex color codes such as FF5733 to make fonts bright or soft.
Apply Color Themes For Quick Changes
VS Code supports many color themes with preset terminal colors. Press Ctrl + K Ctrl + T to open the theme picker. Browse themes and select one you like.
The terminal font colors update automatically based on the theme. This option is fast and requires no manual editing of settings.
Edit Settings.json For Colors
Editing the settings.json file in VS Code lets you change terminal colors easily. This file controls many aspects of the editor, including terminal appearance. Custom colors make the terminal more readable and visually pleasing. You can set text, background, and cursor colors.
Changing colors in settings.json is simple and quick. It lets you create a unique and colorful terminal look. Follow the steps below to adjust your terminal colors.
Edit The Settings.json File
Open VS Code and press Ctrl + , to open settings. Click the top right icon to open settings.json directly. This file stores all your customized settings in JSON format.
In settings.json, add or edit the section “workbench.colorCustomizations”. This area controls colors for many UI parts, including the terminal.
Set Terminal Colors
Inside “workbench.colorCustomizations”, add properties like these:
{ "terminal.background": "1E1E1E", "terminal.foreground": "C5C8C6", "terminalCursor.background": "FFFFFF", "terminalCursor.foreground": "FFFFFF" }Replace hex color codes to match your preferred colors. The background sets the terminal’s base color. Foreground changes the text color. Cursor colors change the blinking cursor style.
Apply And Save Changes
After editing, save the settings.json file. Changes take effect immediately in the terminal. Open a new terminal tab to see the new colors. Adjust colors again if needed for better contrast.
Use Ansi Escape Codes
Using ANSI escape codes is a simple way to add color to your VS Code terminal. These codes are special text sequences. They tell the terminal to change text color, style, or background. You can use them inside scripts or directly in the terminal.
ANSI codes work on most terminals, including the one in VS Code. They make reading terminal output easier. Colors highlight errors, warnings, or important messages. This improves your coding experience and helps spot issues fast.
What Are Ansi Escape Codes?
ANSI escape codes are strings of characters starting with \x1b[. They end with a letter that defines the action. For example, \x1b[31m sets the text color to red. These codes control text color, background, and style like bold or underline.
How To Use Ansi Codes In Vs Code Terminal
Type the escape code directly in the terminal or include it in scripts. For instance, use echo -e "\x1b[32mGreen Text\x1b[0m" to print green text. The \x1b[0m resets the color back to default. Always reset colors to avoid affecting later output.
Common Color Codes To Try
\x1b[31m– Red\x1b[32m– Green\x1b[33m– Yellow\x1b[34m– Blue\x1b[35m– Magenta\x1b[36m– Cyan\x1b[0m– Reset
Tips For Using Colors Effectively
Use bright colors to highlight important messages. Avoid too many colors at once to keep output clear. Test your colors to ensure readability. Use reset codes after colored text to keep terminal neat.
Install Terminal Themes Extensions
Installing terminal theme extensions is a simple way to brighten your VSCode terminal. These extensions change the colors and style of the terminal. They make your coding environment more lively and easier on the eyes.
Many themes come with different color schemes. Some offer dark backgrounds with bright text, while others have light backgrounds with pastel tones. Picking the right theme helps reduce eye strain and improve focus.
How To Find Terminal Themes Extensions
Open VSCode and go to the Extensions view by clicking the square icon on the sidebar. Type “terminal themes” in the search bar. This will show many options made for terminal color customization.
Look at the ratings and reviews. Choose an extension that many users like. Check the number of downloads to find popular themes.
Steps To Install A Terminal Theme Extension
Click on the extension you want from the search results. Press the “Install” button. Wait for a few seconds while VSCode downloads and sets up the extension.
Once installed, read the extension’s guide or description. Some themes require you to activate them or change settings manually.
Applying The Terminal Theme
After installing, open the Command Palette with Ctrl+Shift+P. Type “Terminal: Select Default Profile” or the theme’s activation command. Choose the new theme from the list.
Restart the terminal or VSCode to see the changes. Your terminal now has fresh colors and styles. Enjoy coding in a more colorful environment.
Apply Powerline And Nerd Fonts
Applying Powerline and Nerd Fonts enhances your VS Code terminal’s look. These fonts add special symbols and icons. They make your terminal more readable and colorful.
Powerline fonts provide extra glyphs for prompts and status bars. Nerd Fonts combine many patched fonts with icons. Together, they create a visually appealing terminal experience.
Install Powerline Fonts
Download Powerline fonts from their official repository. Extract the fonts and install them on your system. On Windows, right-click and choose “Install”. On macOS, double-click and click “Install Font”.
Install Nerd Fonts
Visit the Nerd Fonts website to get patched fonts. Choose a font you like and download it. Install the font following your operating system steps.
Set Terminal Font In Vs Code
Open VS Code settings (Ctrl + ,). Search for “terminal.integrated.fontFamily”. Enter the name of your installed Powerline or Nerd Font. Save the settings and restart the terminal.
Verify Font Installation
Open the terminal in VS Code. Type commands that show special glyphs or icons. Check if the symbols display correctly without squares or question marks.
Customize Prompt With Powerline Themes
Use Powerline themes or plugins for your shell. They use Powerline fonts to show colors and icons. This step makes your terminal prompt more stylish and functional.
Create Custom Terminal Profiles
Creating custom terminal profiles in VS Code lets you personalize your coding environment. You can choose different shells, colors, and settings for each profile. This makes your terminal more colorful and easier to use.
Custom profiles help separate tasks by using different settings. For example, one profile for PowerShell, another for Git Bash. Each profile can have unique colors and fonts to make them stand out.
Create A New Terminal Profile
Open VS Code and go to Settings. Search for terminal profiles. Click Edit in settings.json to open the config file. Add a new profile with a name, path to the shell, and optional icon.
Example:
{ "terminal.integrated.profiles.windows": { "MyCustomProfile": { "path": "C:\\Program Files\\Git\\bin\\bash.exe", "icon": "terminal-bash" } } } Set Colors For Your Terminal Profile
Colors come from the shell or terminal theme. Use shell config files like .bashrc or .zshrc to add color schemes. You can also select a VS Code theme that supports colorful terminals.
For example, add this to your .bashrc:
export PS1='\[\e[1;34m\]\u@\h:\w\$ \[\e[0m\]' This sets your prompt color to blue.
Switch Between Profiles Easily
After creating profiles, open the terminal dropdown menu in VS Code. Select the profile you want to use. This changes the terminal shell and colors instantly. You can open multiple terminals with different profiles too.
Save And Share Your Profiles
Save your profiles in the settings.json file for backup. Share this file with your team to keep a consistent terminal look. This helps everyone use colorful and customized terminals.
Save And Test Your Setup
After configuring your colorful terminal in VS Code, the next step is to save your changes and test the setup. Saving ensures your preferences remain intact for future sessions. Testing confirms that the colors and settings work as expected. This step helps avoid surprises and keeps your workflow smooth.
Save Your Configuration Files
Locate the configuration file you edited for colors. It could be your shell profile or VS Code settings file. Use the save command or shortcut to store your changes. Double-check the file to make sure all edits are saved properly. This action prevents loss of your customizations.
Restart The Vs Code Terminal
Close the terminal panel inside VS Code. Reopen it to apply the new color settings. Restarting reloads the configuration files and updates the terminal appearance. Watch for any errors or missing colors after the restart.
Run Sample Commands To Verify Colors
Type commands that produce colored output, such as ls --color=auto on Linux or dir with color enabled on Windows. Observe if the text and background colors display correctly. This test confirms your terminal supports color and your setup is correct.
Adjust Settings If Needed
If colors do not appear as expected, revisit your configuration files. Check for typos or missing escape codes. Modify your settings and save again. Repeat the restart and test process until the colors display properly.

Credit: github.com
Frequently Asked Questions
How To Make Vs Code Terminal Colorful?
Open VS Code, press Ctrl+K Ctrl+T, and select a colorful terminal theme. Customize colors via settings or install themes for more options.
How To Make Terminals Colorful?
Open your terminal settings or preferences. Choose or create a colorful theme or profile. Apply ANSI escape codes for vibrant output.
How To Use Terminal With Colorful Profile?
Open your terminal’s Preferences or Settings. Go to the Profiles tab and choose a colorful theme. Customize fonts and backgrounds as desired. Save and set it as default for a colorful terminal profile.
How Do I Add Color To Terminal Output?
Add color to terminal output by using ANSI escape codes. These codes modify text color and style when printed in the terminal. Include sequences like “\033[31m” for red before your text and “\033[0m” to reset colors. Many programming languages support these codes for colorful output.
What Is A Colorful Terminal In Vscode?
A colorful terminal shows text and backgrounds in different colors for easier reading.
How Do I Change The Terminal Color Theme In Vscode?
Open File > Preferences > Color Theme or press Ctrl+K Ctrl+T to pick a new theme.
Can I Customize Vscode Terminal Colors Manually?
Yes, you can edit terminal colors in settings. json under “workbench. colorCustomizations”.
How To Make Terminal Text Colorful In Vscode?
Use color themes or ANSI escape codes in your scripts to add colored text.
Why Use A Colorful Terminal In Vscode?
Colors help spot errors and commands quickly, improving coding speed and clarity.
Does Vscode Support Different Terminal Shell Color Profiles?
Yes, you can set different color profiles for shells like PowerShell or Bash.
Conclusion
Adding color to your VS Code terminal makes coding more enjoyable. Changing themes is quick and simple. You can pick colors that suit your style or improve readability. Experiment with different color schemes until you find the best fit. Customizing the terminal helps reduce eye strain during long coding sessions.
Keep your setup fresh and inspiring. Small changes like this boost your workflow and focus. Try it today and see the difference in your coding experience.